Anonymize Studies
Anonymization of DICOM Files in DICOM Studio is based on the DICOM PS 3.15 Annex E Basic Application Level Confidentiality Profile in the DICOM standard, with a few exceptions, and a few additions. Explore all the actions taken to anonymize each DICOM File here .
The anonymization process follows two simple steps:
- Create Destination Folder.
- Anonymize.
macOS
First, click the Anonymize Study button in the toolbar.
A dialog will appear. Navigate to the location where you want to save the Anonymized study. Click the New Folder button.
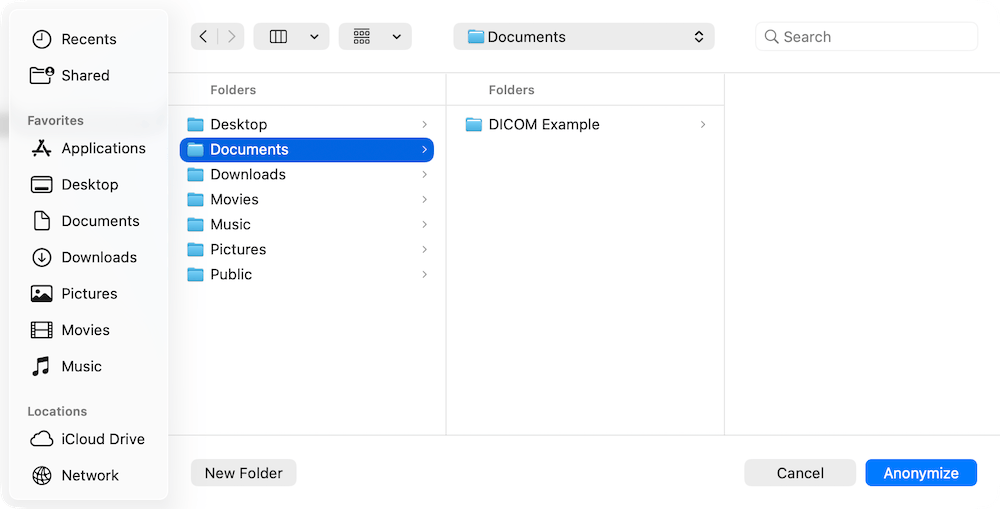
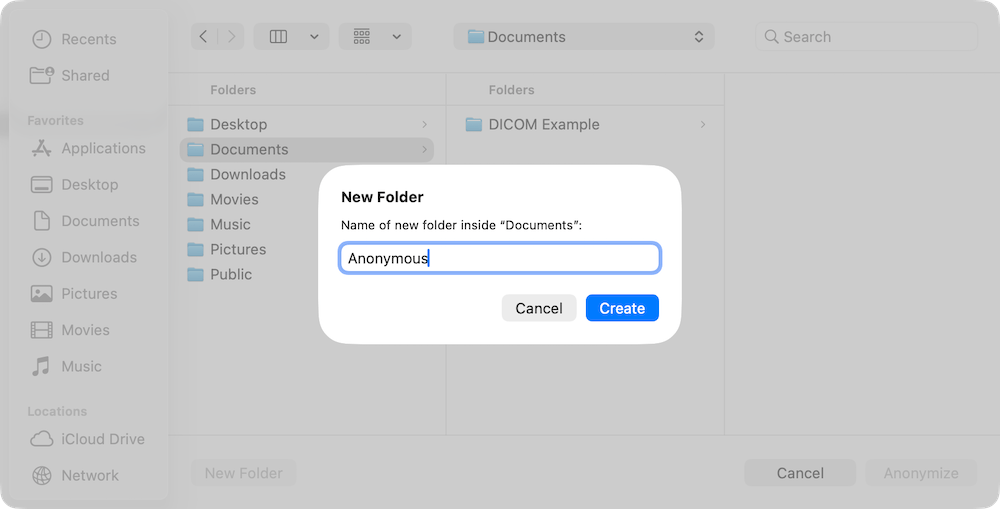
Name the folder that will contain the Anonymized DICOM files.
Once the new folder is created, click the Anonymize button.
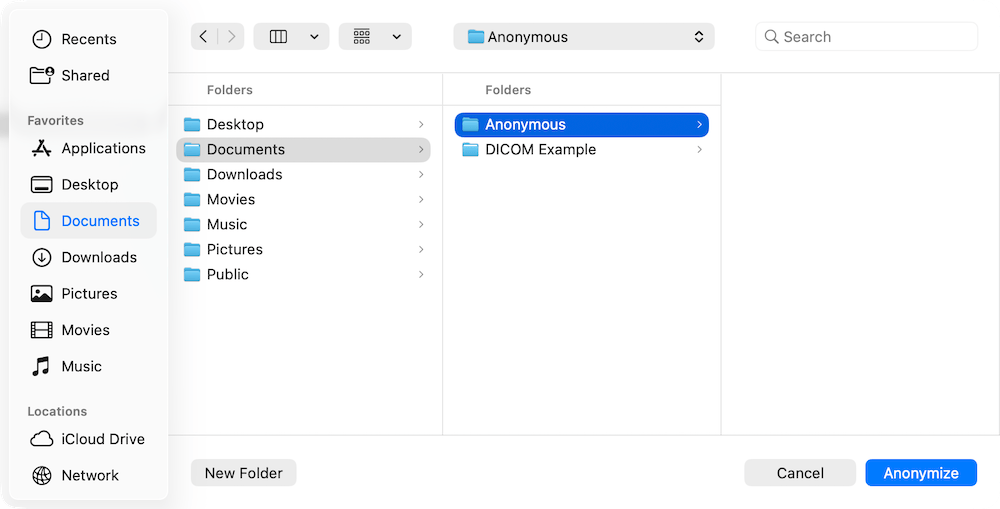
Anonymization of the selected study will complete in a few seconds. In addition to saving the study to the indicated folder, the anonymized study will also be added to the Recents library for your reference.
Windows
The process on Windows differs slightly. First, click the Anonymize Study button in the toolbar.
A dialog will appear. Navigate to the location where you want to save the Anonymized study. Right-click to open the context menu. Go to the New sub-menu, and click Folder.
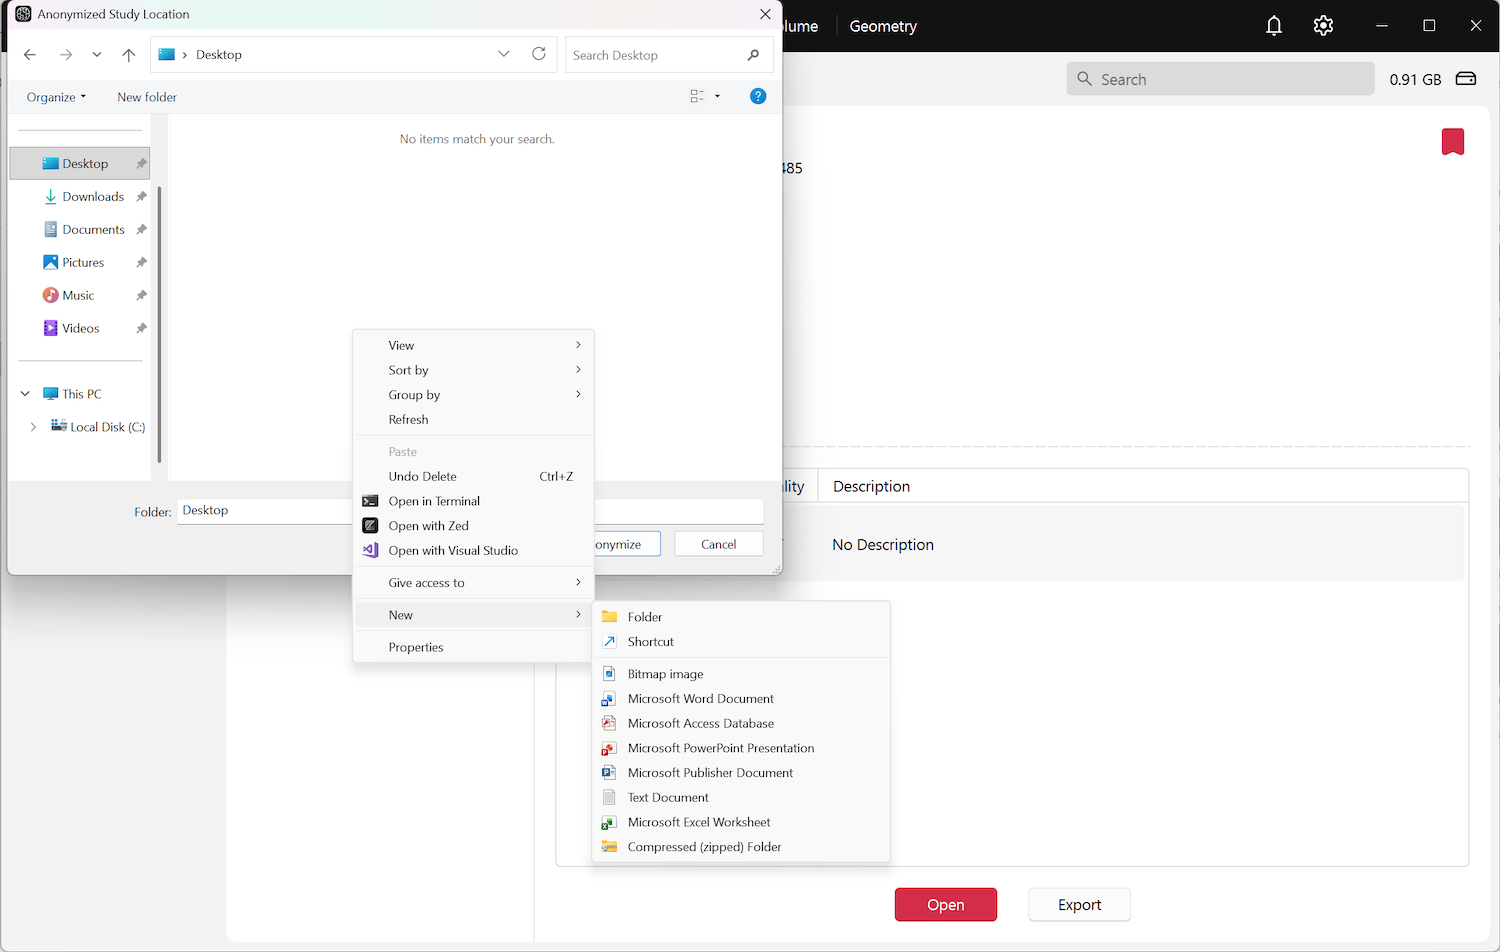
Name the new folder, and click the Anonymize button.
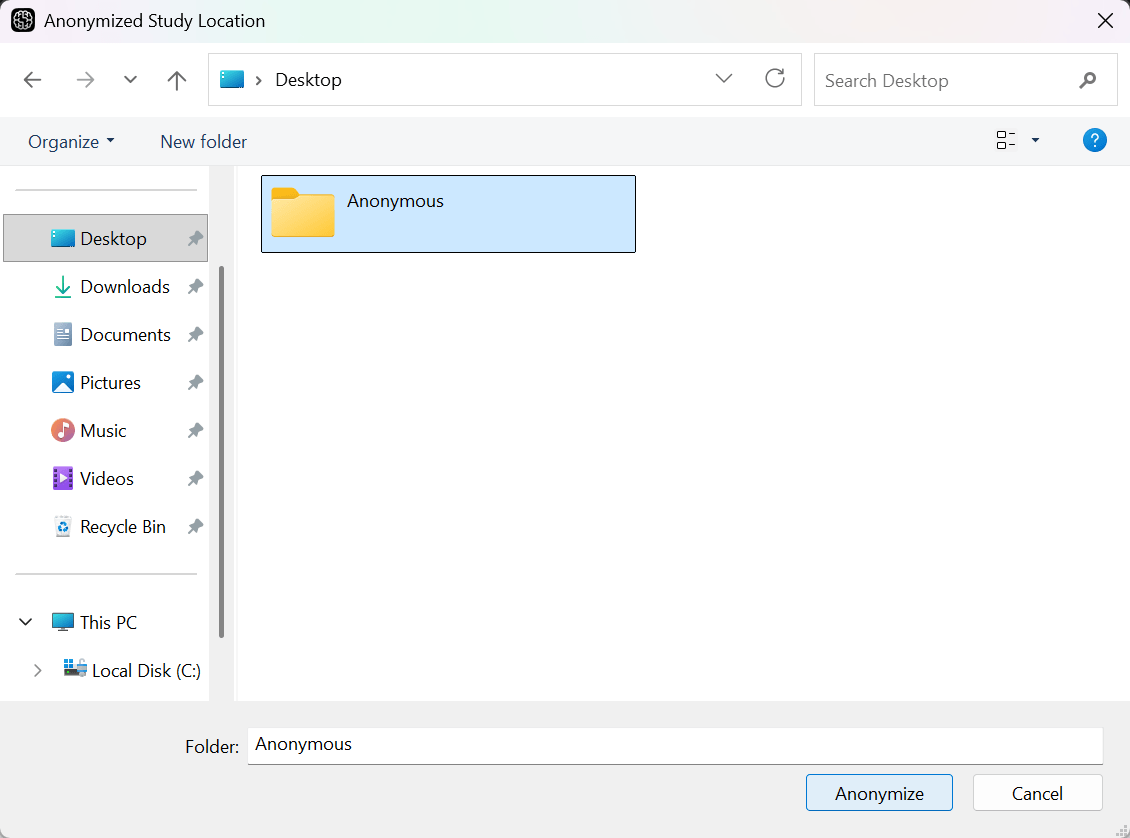
Anonymization of the selected study will complete in a few seconds. The study will be saved in the new folder, and added to the Recents library for your reference.