DIMSE
DIMSE (DICOM Message Service Element) is the standard application-layer messaging protocol, defined in the DICOM standard (PS 3.7), that enables medical imaging devices and software to communicate and exchange data over TCP/IP networks. In DICOM Viewers such as DICOM Studio, DIMSE services provide the fundamental networking backbone used to discover, query, retrieve, and send medical imaging studies to and from Picture Archiving and Communication Systems (PACS), Vendor Neutral Archives (VNAs), and acquisition modalities.
DICOM network communication relies on an established Association between two Application Entities (AEs), each identified by an AE Title (AET), an IP address, and a port number. The Application Entities can have two roles:
- SCU (Service Class User): The client requesting a service (e.g. a DICOM viewer querying a PACS).
- SCP (Service Class Provider): The server fulfilling the service request (e.g. the PACS answering the query or storing an image).
DICOM Studio supports the following DIMSE protocols:
- C-ECHO SCU (Ping): Used to test and verify connectivity and AE Title configuration with a remote PACS or server.
- C-FIND SCU (Query/Search): Send filter criteria (e.g. Patient ID, Study Date, Modality) to match and list studies or series available on the archive.
- C-GET SCU (Retrieve): Fetch images directly across the active connection.
- C-STORE SCU (Store): Export local images to the remote PACS or server.
DIMSE is best suited for local area networks (LANs) within a hospital or clinical environment.
DIMSE Connection Setup
Click the Add DICOM Node button in the sidebar under the Network title.
The dialog below will open. Fill in the connection's details. The Name will be used to identify the node on the sidebar. Note that the Retrieve Mode and Security Profile are pre-configured and cannot be altered. The TLS switch is also on by default. Turn this on/off depending on your server's configuration.
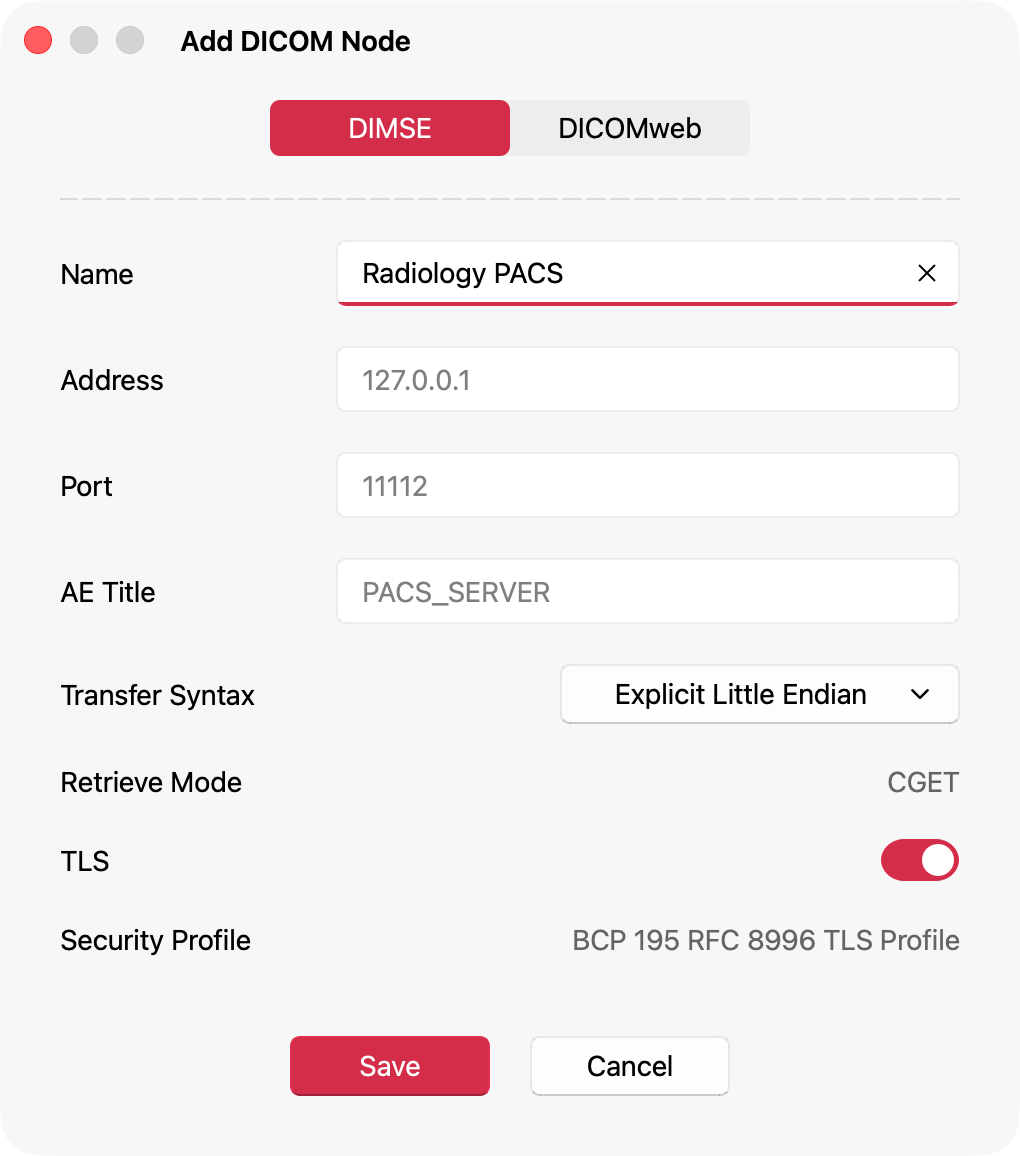
Additionally, note that the calling AE Title for DICOM studio is DICOM_STUDIO. Make sure your server is configured to accept this. Alternatively, modify the Calling AE Title from the application settings: Settings -> Network, to a title that your server is configured to accept.
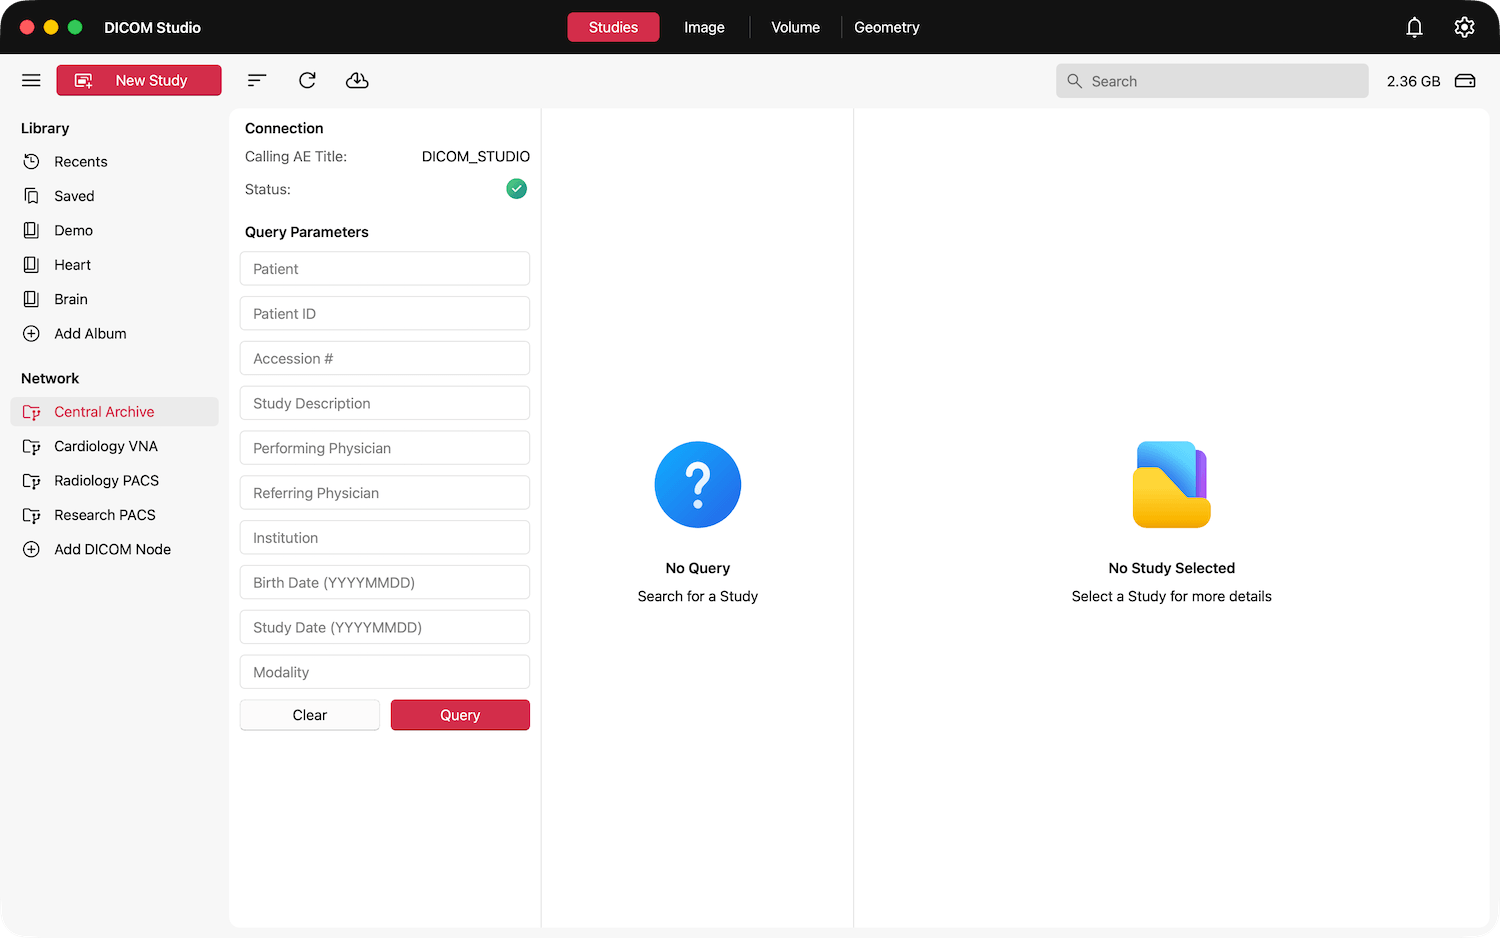
Click Save to register the configuration. A Ping (C-ECHO SCU) is sent to the server to test the connection. If all the details are correct, the Node interface below will follow. The green checkmark under the Calling AE Title indicates that a successful connection has been made.
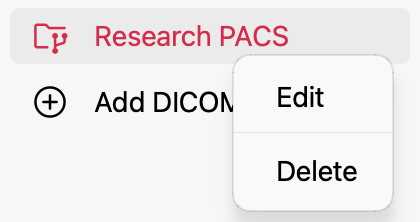
A Node button will also be added to the sidebar.

Right-click this button to either Edit the node's attributes, or Delete it.
Fixing Connection Issues
If there was an error in your configuration, the dialog below will open.
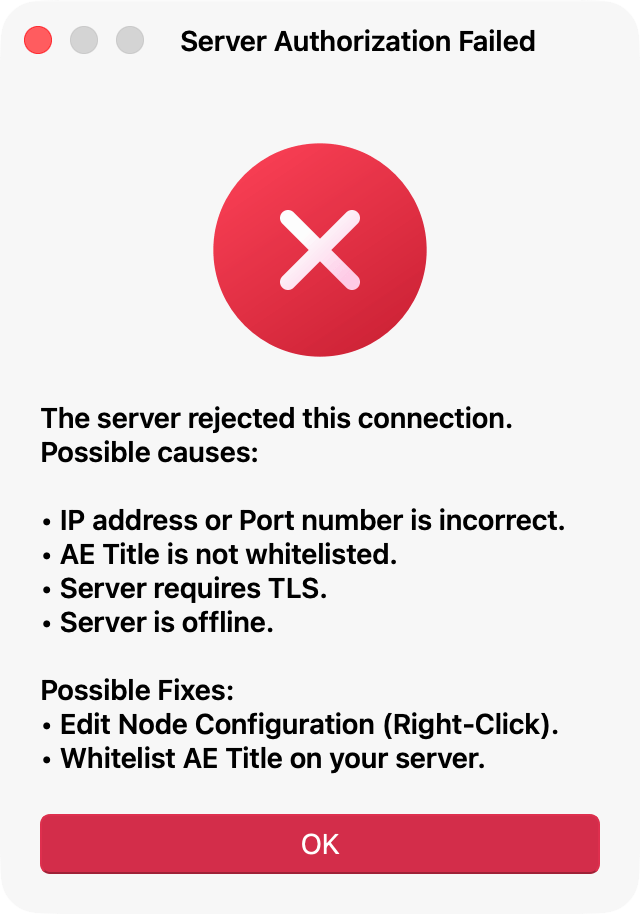
Follow the possible causes in the dialog to determine the reason behind the error. If issues persist, contact support.
Search for a Study
Fill in the relevant parameters of your query before sending the request to your server. Note that Birth Date and Study Date must follow the format indicated in the placeholder. Click Query to send the request. Click Clear to reset all the query parameters.
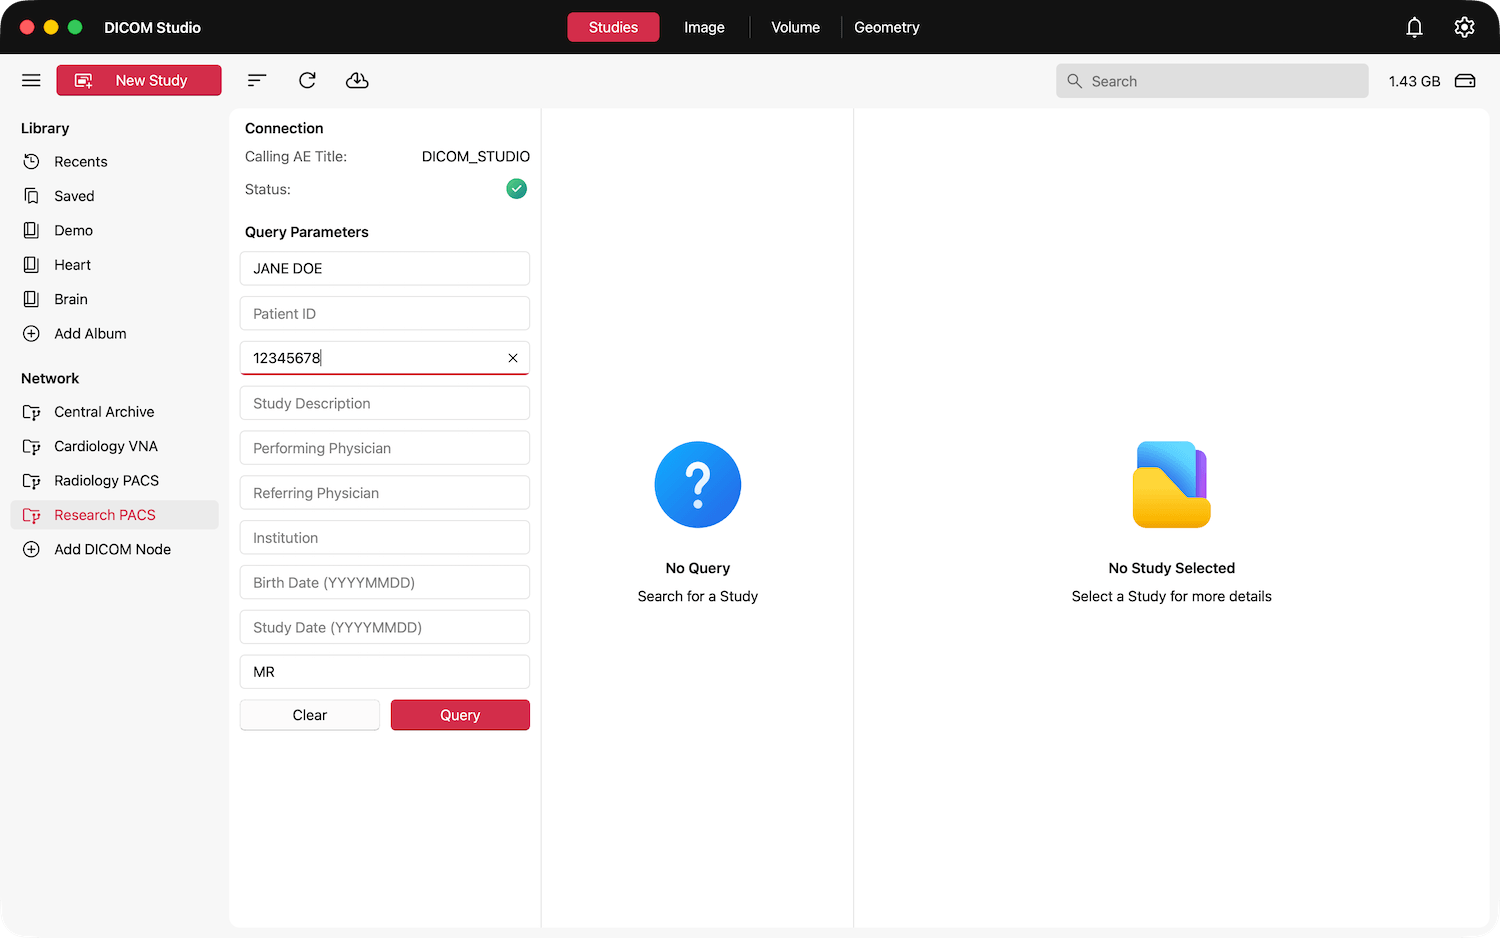
When you click Query, DICOM Studio sends a Search (C-FIND SCU) request to your server, and will populate the Study Summaries column with all the studies returned by your server that match your request.
Retrieve a Study
Select a study returned from the query you sent above, and click the Retrieve Selected Study button on the toolbar with the icon below.
Track the progress of the download from the dialog that follows.
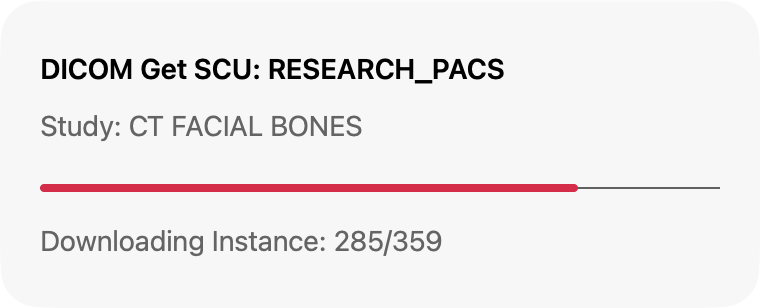
The retrieved study will be added to your Saved library once complete.
Upload a Study
While any of your Recents, Saved or Album libraries are open, select a study and click the Upload Study to DICOM Node button on the toolbar with the icon below.
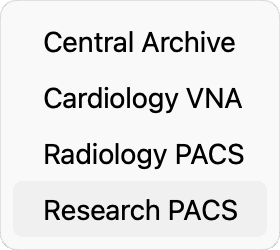
A menu will open with all the DICOM Nodes registered in the application as options. Pick your target server.
Track the progress of the upload from the dialog that follows.
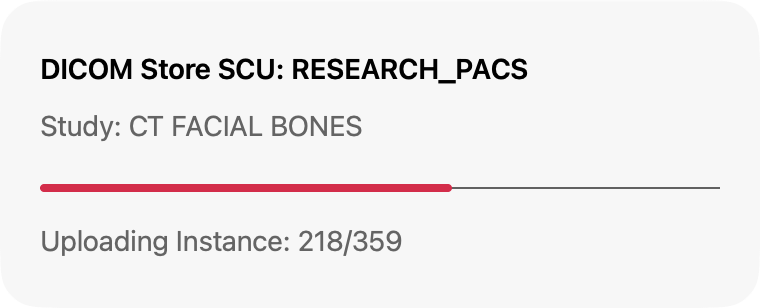
Once complete, find the study on your server.
Note: Ensure that you have the necessary permission to upload studies to the target server. If you do not have permission, the upload will fail with an Authorization error. If you are unsure, check your permissions with your system administrator.