The Image Tab
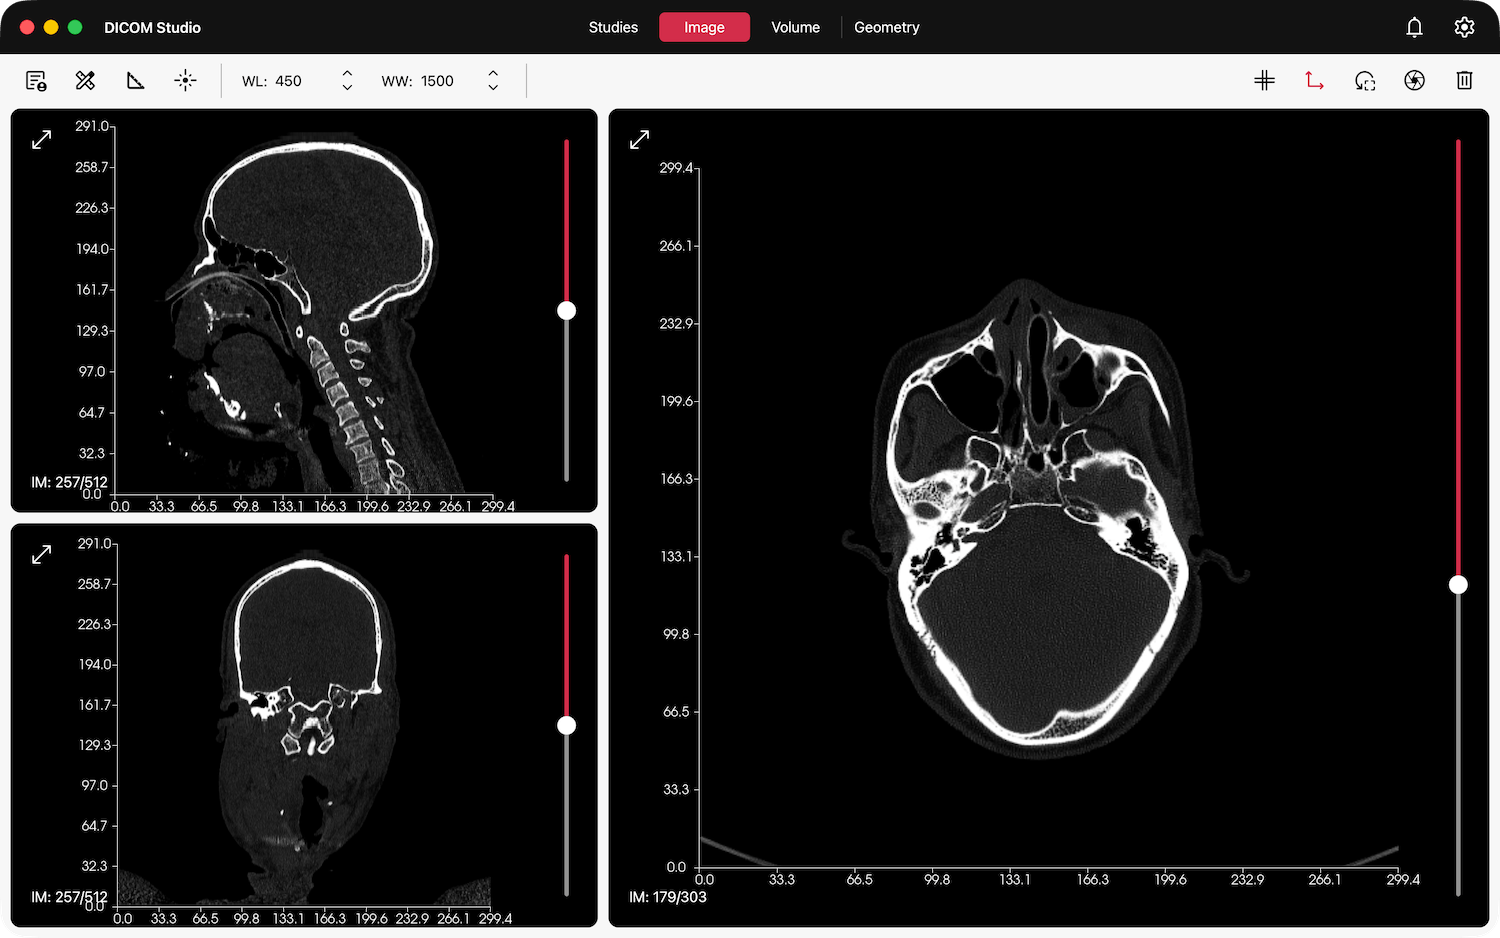
When you add a new study, as described in the Add New Studies section, the Image Tab comes into view. The tab consists of a toolbar and 3 Image Views. The primary Image View is on the right. When a DICOM Series or NIfTI Dataset is opened in DICOM Studio, slices in the original orientation are loaded onto this view. Slices in the other 2 orientations are reconstructed, and loaded onto the remaining 2 views on the left.
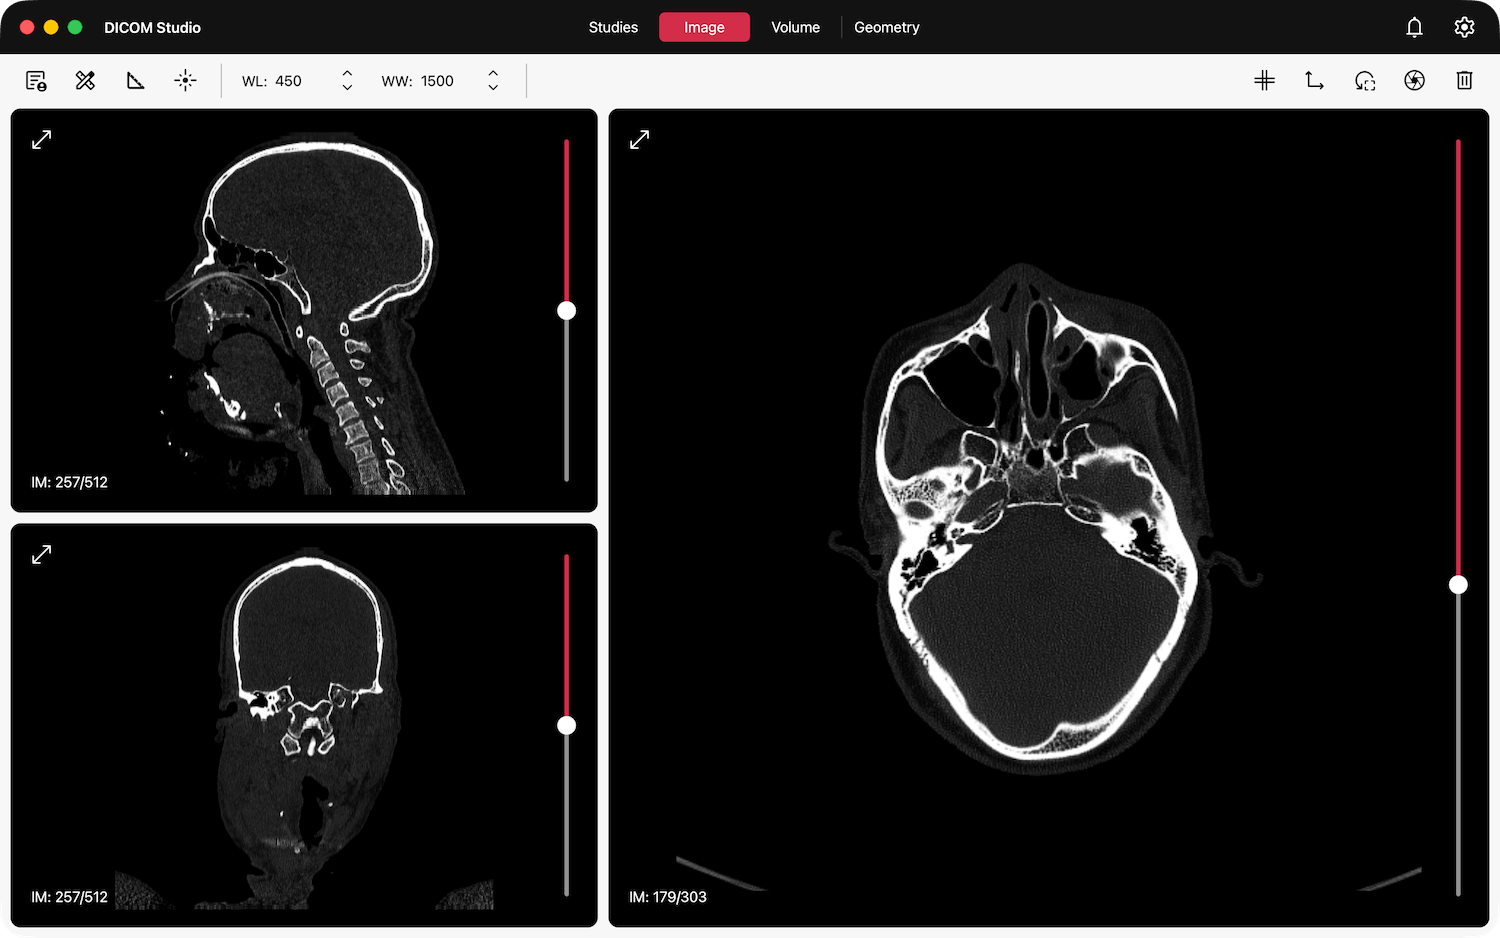
Each Image View has 3 widgets:
- A Slider on the right.
- A Toggle FullScreen button on the top-left.
- The Slice Count on the bottom-right.
Drag the slider up/down to update the slice in view. You can also scroll through slices using the scroll-wheel on your mouse, or the equivalent gesture on your device's touchpad/trackpad. Refer to the Interaction section to learn more about this. The ability to scroll through slices using your mouse allows for the optional hiding of the Sliders if you want a cleaner workspace. They can be hidden by toggling the switch available in DICOM Studio's settings: Settings -> Imaging -> Image Scroll Sliders
DICOM Tags
Click the Show DICOM Tags / NIfTI Headers button in the toolbar, with the icon above, to open the Image Metadata table. When DICOM Images are opened, this table is populated with an exhaustive list of DICOM Tags and the corresponding values found in the images' metadata. When NIfTI Datasets are opened, this table is populated with the metadata found in the dataset's NIfTI header.
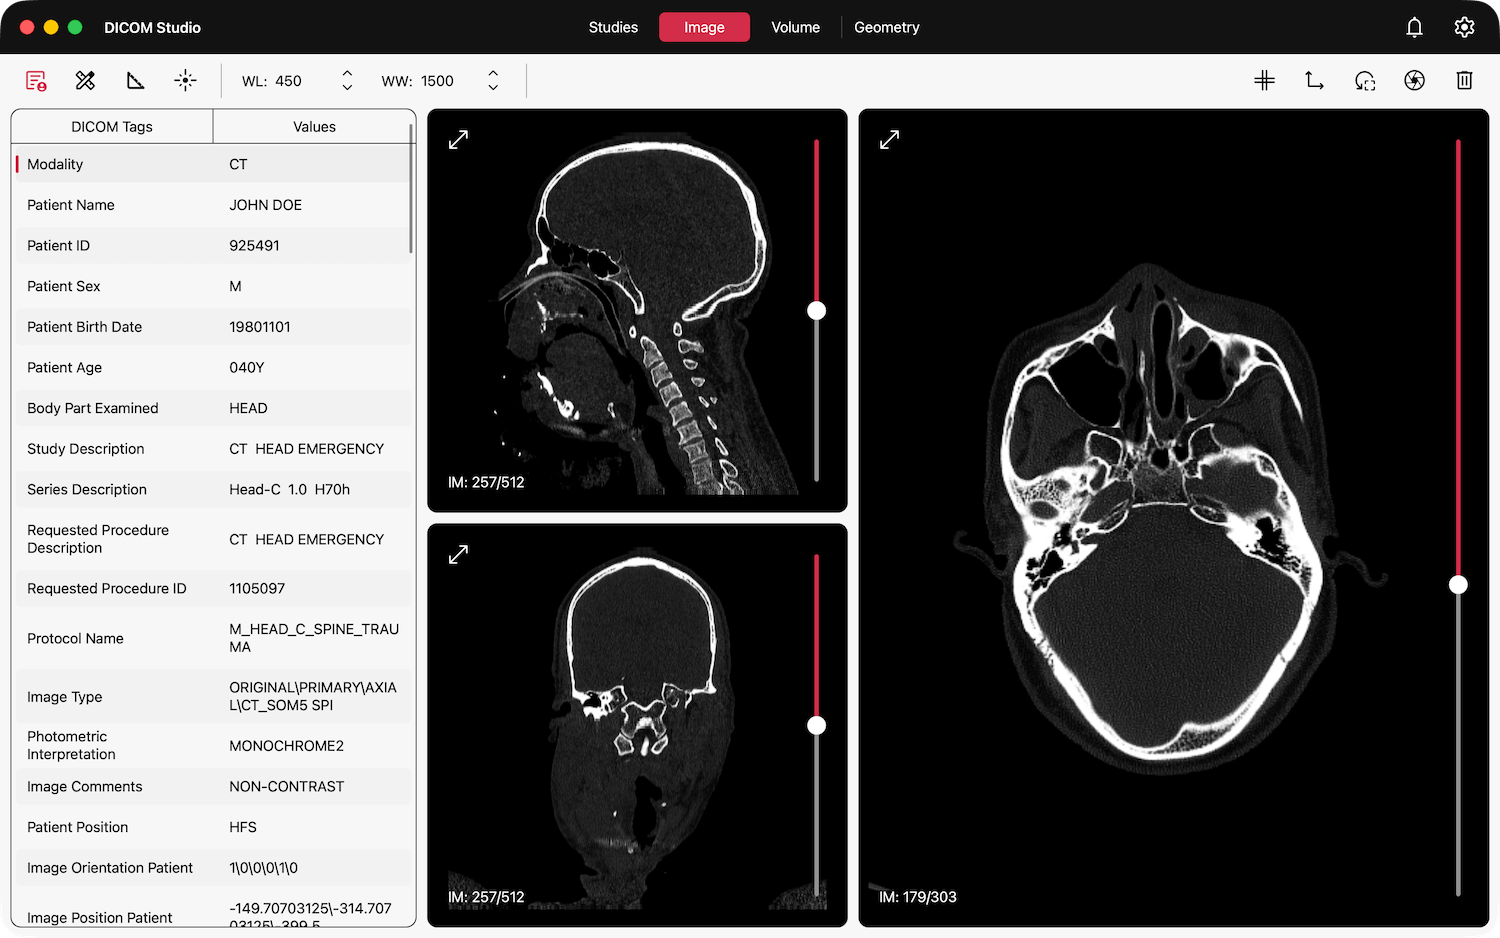
Click the Show DICOM Tags / NIfTI Headers button once more to close the table.
Fullscreen View
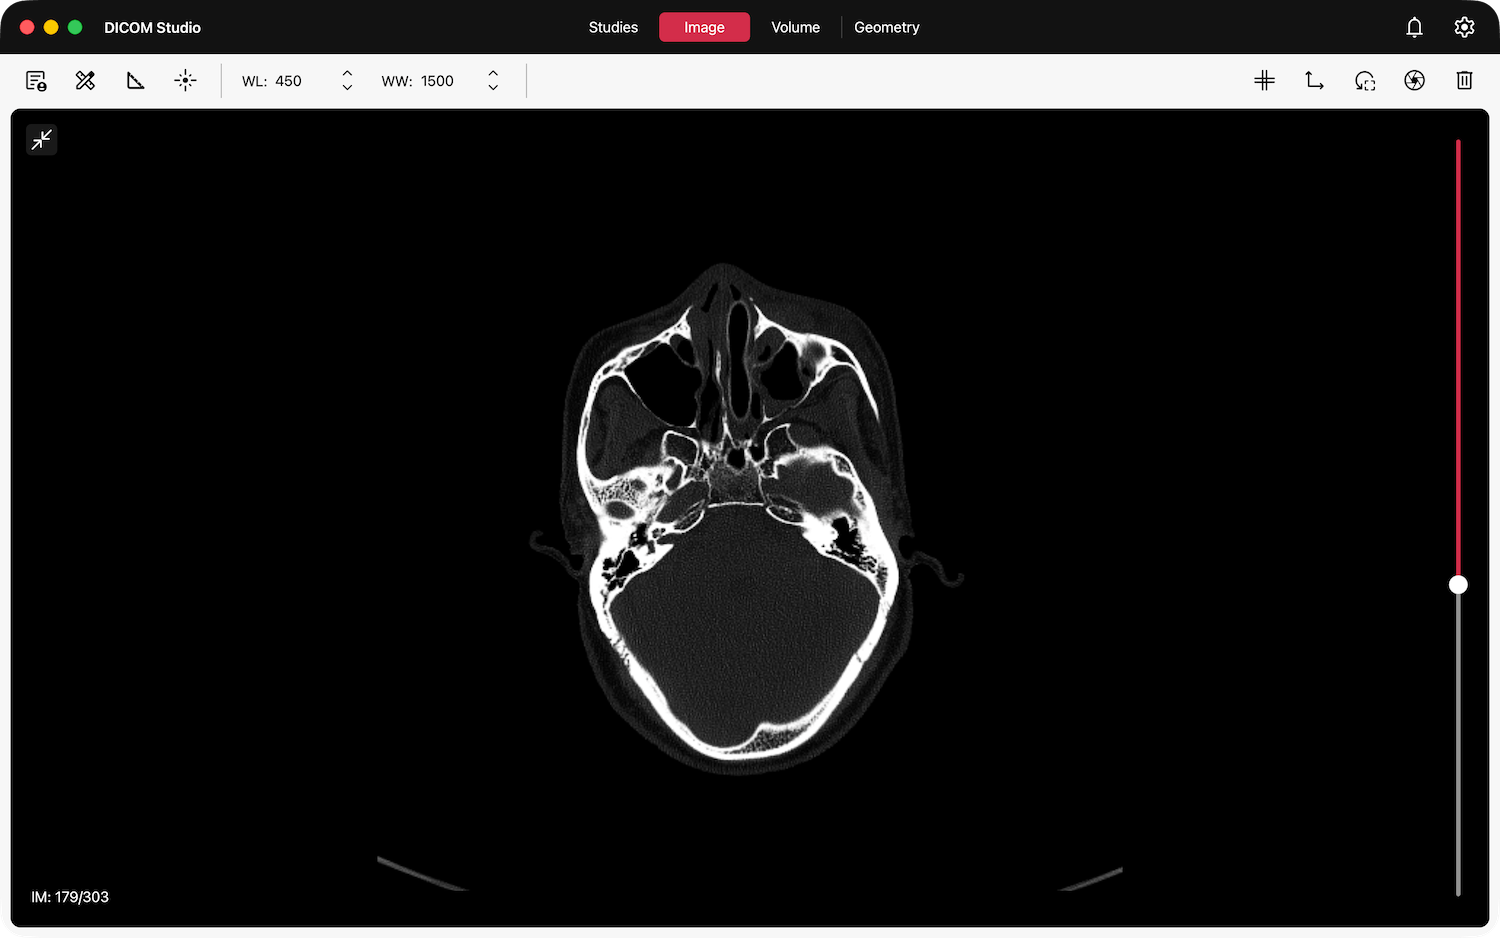
Each Image View has a Fullscreen button with the icon above. Click it to toggle full screen. As in the example below, when active, the other Image Views are hidden, as the toggled view expands. Click the button once more to restore the original MPR view.
Cross-Reference Lines
Activate cross-reference lines by clicking the Show Cross-Reference Lines button in the toolbar with the icon above. When activated, as you scroll through slices in one Image View, the corresponding cross-reference lines will be updated in the other two views. Click the button once more to deactivate them.
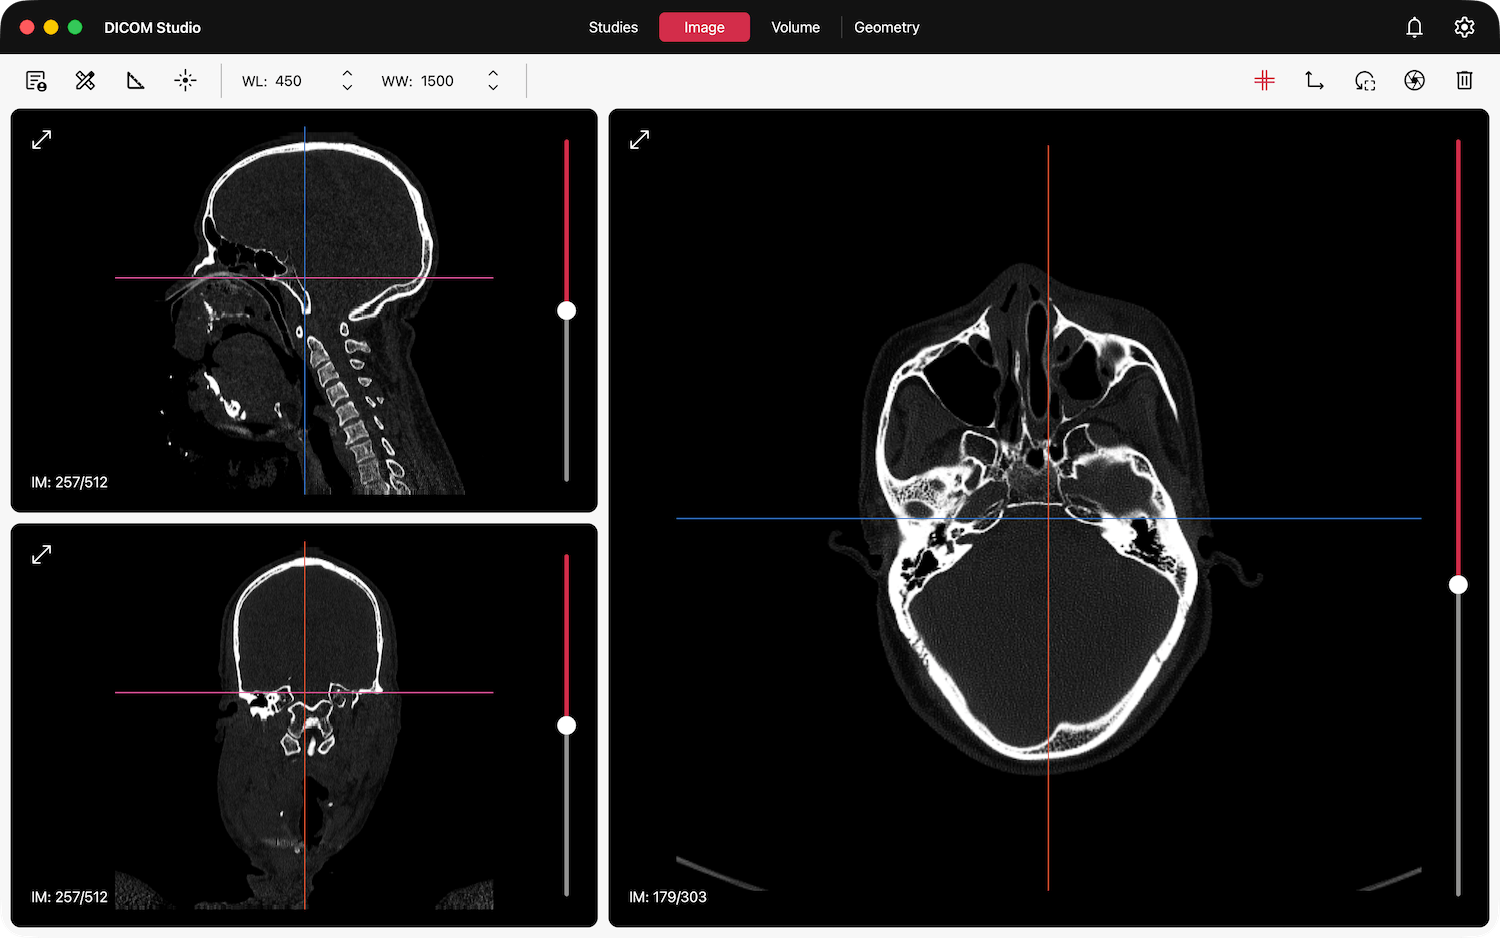
These lines are particularly useful when you want to track structures across the multi-planar reconstructions, providing immediate spatial correlation between anatomical planes.
Measurement Axes
Click the Show Measurement Axes button in the toolbar, with the icon above, to activate this tool. When activated, X & Y axes, featuring 10 equally spaced points, are added onto the length and width of the active slice in each Image View. Each point includes the distance from the origin. Click the button once more to deactivate them.
Reset Cameras
Each Image View allows you to Pan, Zoom In and Zoom Out. As you do this, you may want to quickly restore the slice in view to its original position and size. Use this tool to effect this.
Refer to the Interaction section to learn how these controls work on your device.
Capture Screenshots
DICOM Studio supports the export of screenshots of each Image View in either PNG or JPEG format. Click the Capture Screenshot button in the toolbar, with the icon above, and the menu below will appear.
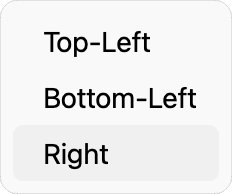
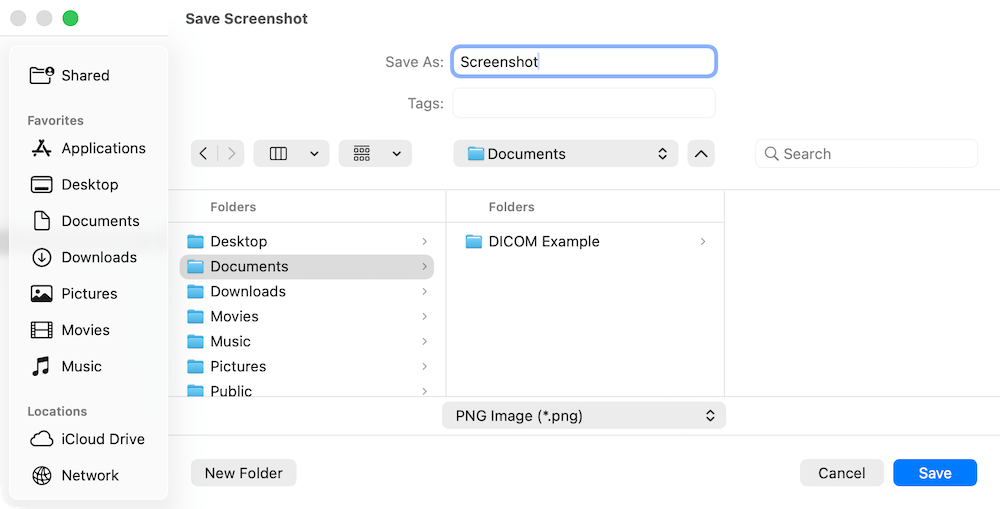
Select the Image View that you want to capture, and the dialog below will follow. Navigate to the location where you want to save the screenshot, enter it's name, select the image format and click save.
Remove Study
This tool resets every view in DICOM Studio, including the Volume and Geometry views. It also deactivates any tool previously active in the Image, Volume and Geometry tabs. In effect, this resets the application to a clean state, without having to restart.