DICOMWeb
DICOMWeb is the web-native, RESTful transport layer defined in DICOM Part 18 (PS 3.18) that enables medical imaging systems and viewers to query, retrieve, and store DICOM objects using standard HTTP/HTTPS protocols.
Unlike traditional DIMSE which relies on stateful binary connections, fixed AE Titles, and dedicated TCP ports, DICOMweb uses standard web technologies (HTTP methods, JSON/XML metadata, multipart MIME payloads, and TLS encryption). This makes it the modern standard for cloud-based PACS, browser-based viewers, mobile applications and AI integrations.
The DICOMweb ecosystem centers around four main RESTful services , designated by the -RS suffix:
- QIDO-RS (Query based on ID for DICOM Objects): Search the archive and return matching study/series/instance headers.
- WADO-RS (Web Access to DICOM Objects): Retrieve full DICOM files, bulk pixel data, metadata only, or server-rendered consumer formats (jpeg, png) on demand.
- STOW-RS (Store Over the Web): Upload local captures, structured reports, segmentations, or secondary capture images back to the archive in multipart requests.
- UPS-RS (Unified Procedure Step): Manage worklists, task claims, and processing states for acquisition devices and reading workflows.
DICOM Studio supports the following:
- QIDO-RS (Query/Search).
- WADO-RS (Retrieve).
- STOW-RS (Store/Upload).
DICOMWeb Connection Setup
Click the Add DICOM Node button in the sidebar under the Network title.
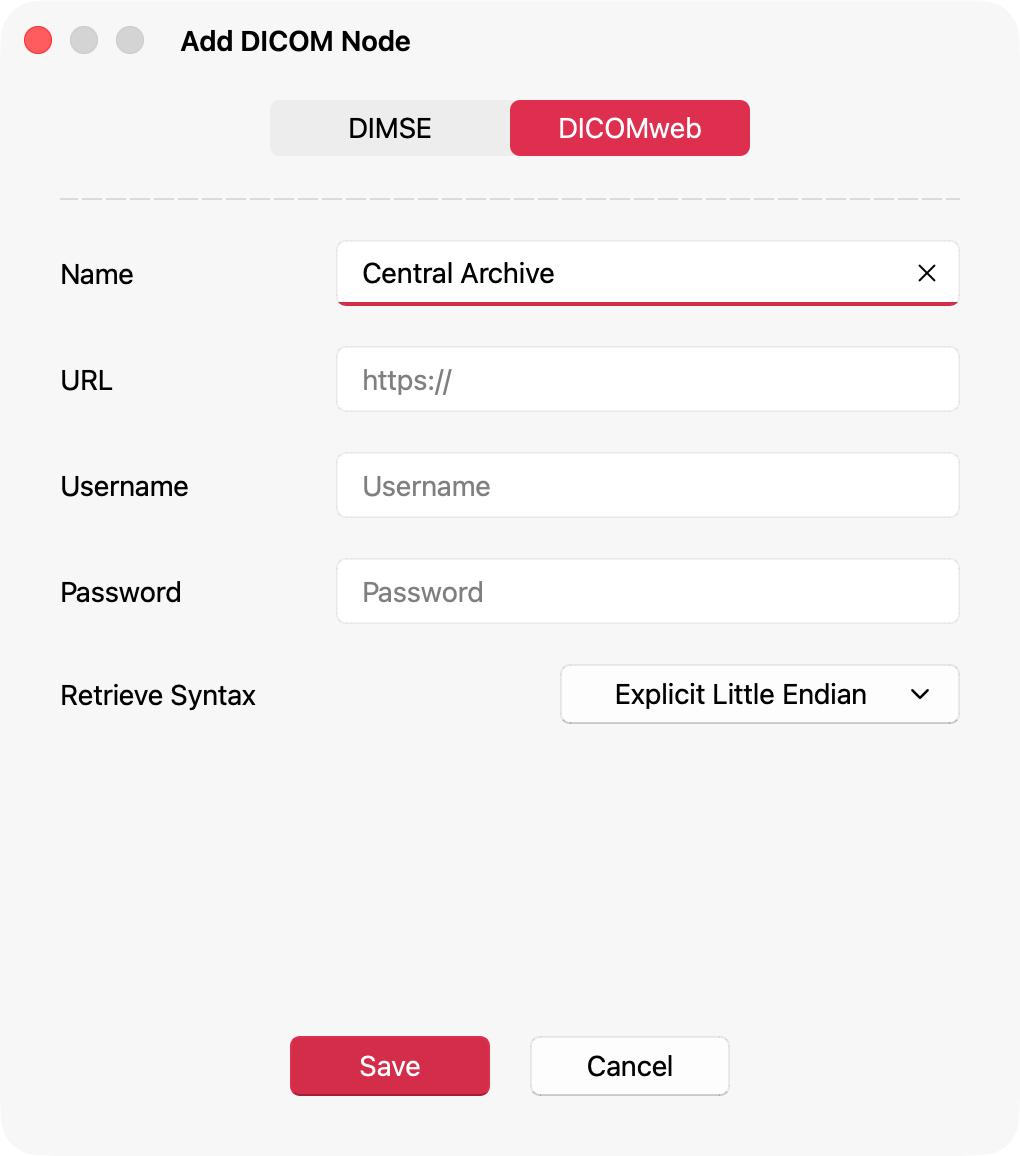
The dialog below will open. Select the DICOMWeb Tab. Fill in the connection's details. The Name will be used to identify the node on the sidebar. Note that the URL must begin with https:// as DICOM Studio utilizes TLS for all DICOMWeb connections by default.
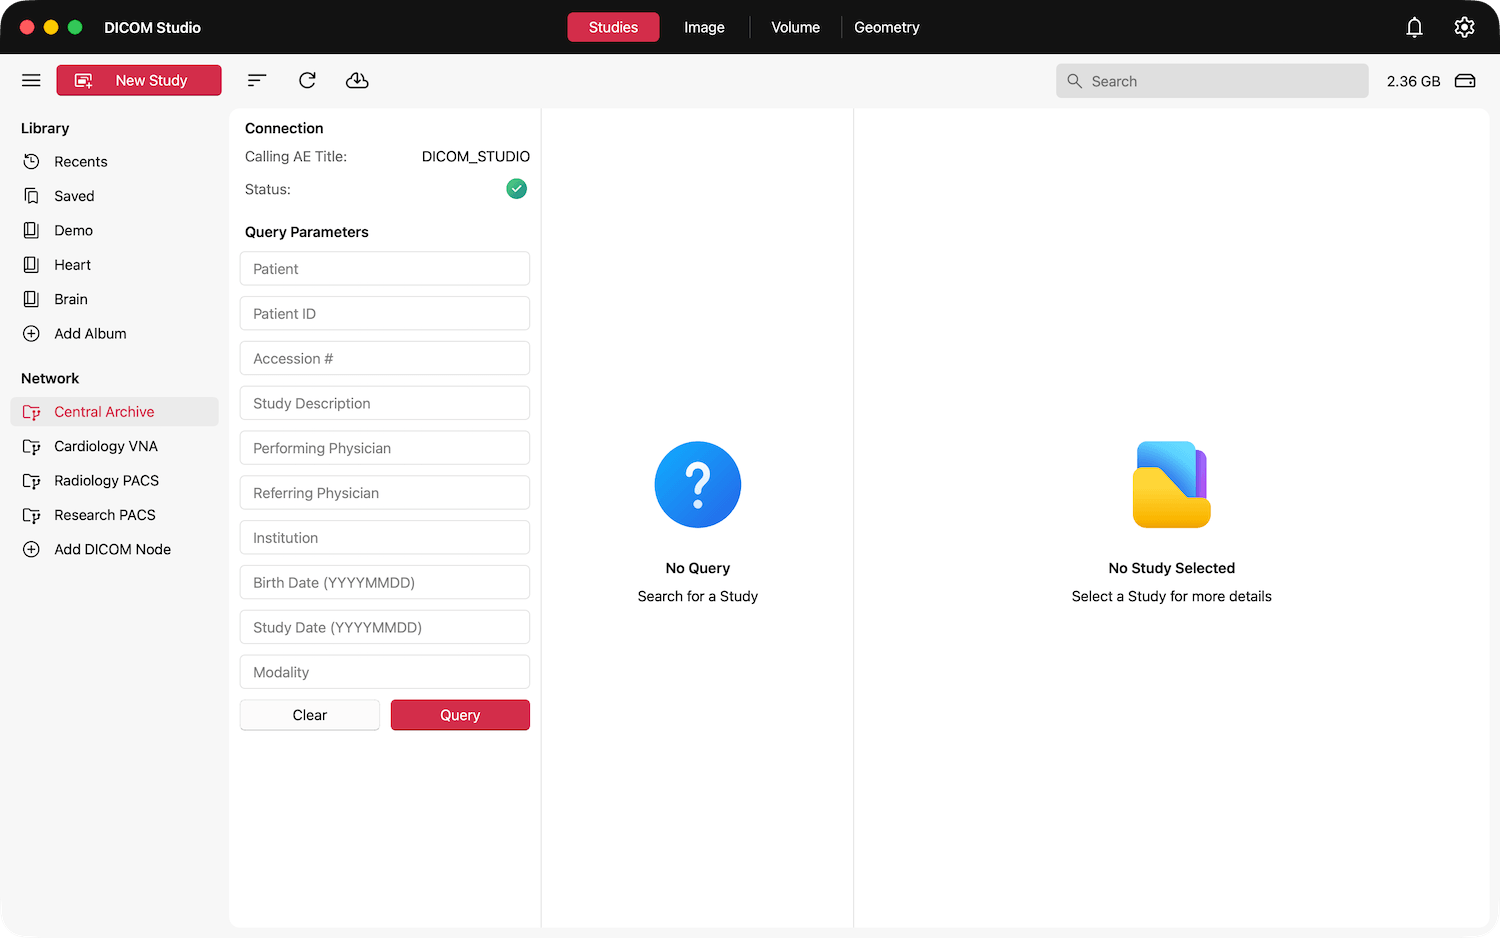
Click Save to register the configuration. DICOM Studio will send a dummy Query request to the server to test the connection. If all the details are correct, the Node interface below will follow. The green checkmark under the Calling AE Title indicates that a successful connection has been made.
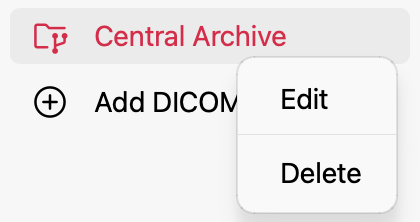
A Node button will also be added to the sidebar.

Right-click this button to either Edit the node's attributes, or Delete it.
Fixing Connection Issues
If there was an error in your configuration, an error dialog like the one below will open.
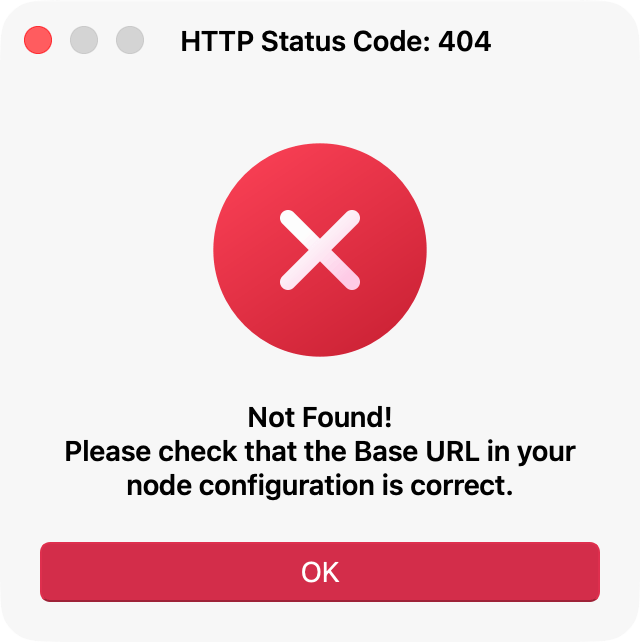
The dialog consists of a title and a message. The title includes a HTTP Status Code which is a useful clue on what went wrong. Generally status codes usually mean the following:
- 3xx (Redirect): A redirection response was received.
- 401 (Unauthorized): Authentication is required and invalid credentials were provided. Check that the username and password you provided are correct.
- 403 (Forbidden): Permission Denied. Check the permissions in your server's configuration.
- 404 (Not Found): Requested resource doesn’t exist at the specified URL. Check that the Base URL in your node configuration doesn't contain any typos.
- 4xx (Client Error): The issue is in your node configuration.
- 5xx (Server Error): The error is on your server.
If troubleshooting doesn't fix the connection, contact your system administrator for help, or contact support.
Search for a Study
Fill in the relevant parameters of your query before sending the request to your server. Note that Birth Date and Study Date must follow the format indicated in the placeholder. Click Query to send the request. Click Clear to reset all the query parameters.
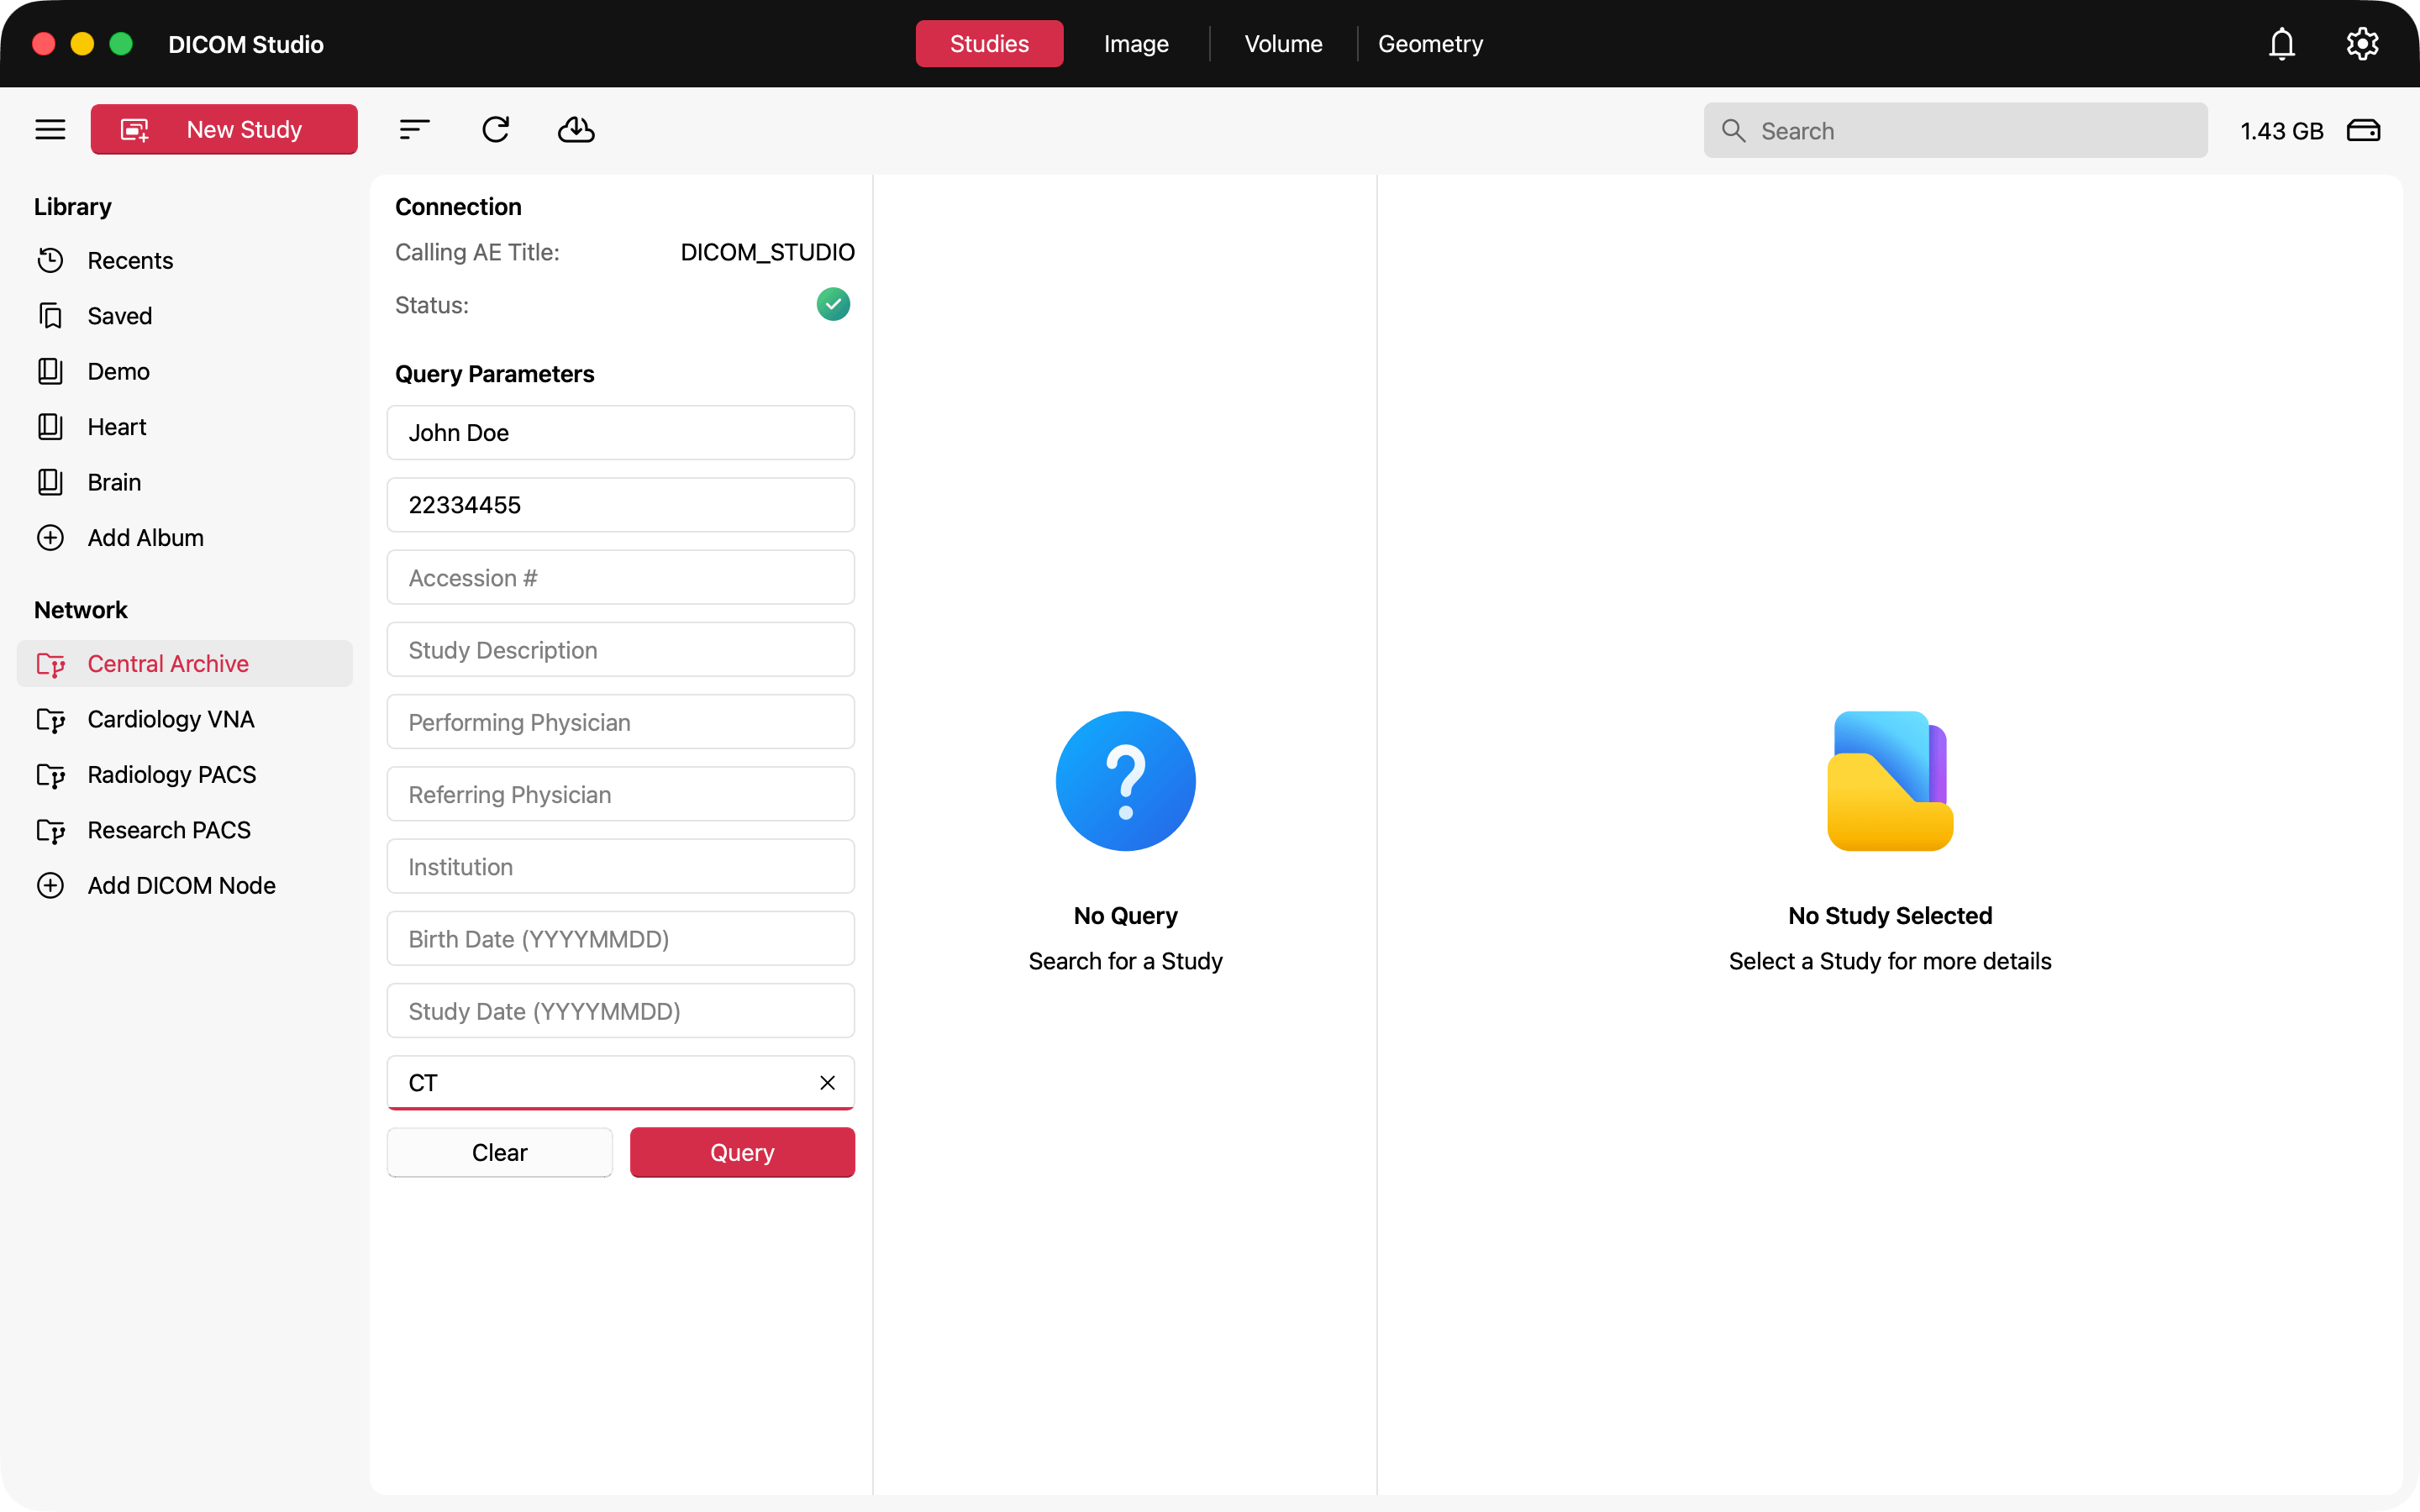
When you click Query, DICOM Studio sends a QIDO-RS request to your server, and will populate the Study Summaries column with all the studies returned by your server that match your request.
Retrieve a Study
Select a study returned from the query you sent above, and click the Retrieve Selected Study button on the toolbar with the icon below.
Track the progress of the download from the dialog that follows.
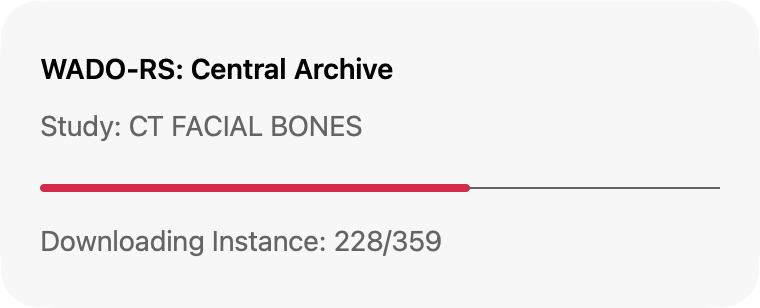
The retrieved study will be added to your Saved library once complete.
Upload a Study
While any of your Recents, Saved or Album libraries are open, select a study and click the Upload Study to DICOM Node button on the toolbar with the icon below.
A menu will open with all the DICOM Nodes registered in the application as options. Pick your target server.
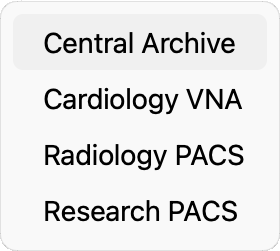
Track the progress of the upload from the dialog that follows.
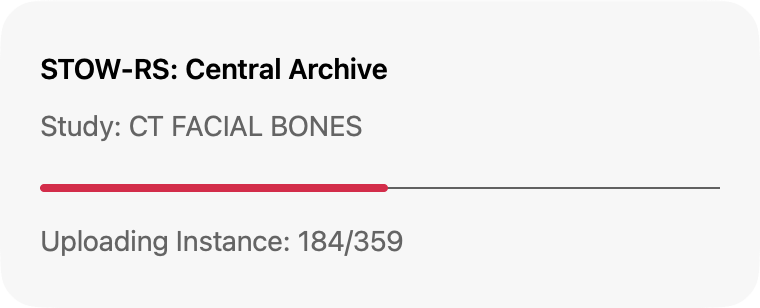
Once complete, find the study on your server.
Note: Ensure that you have the necessary permission to upload studies to the target server. If you do not have permission, the upload will fail with an Authorization error. If you are unsure, check your permissions with your system administrator.