Import Images
The import process follows three simple steps:
- Select Folder Location.
- Select Series for Import.
- Selected Series is loaded onto the Viewer.
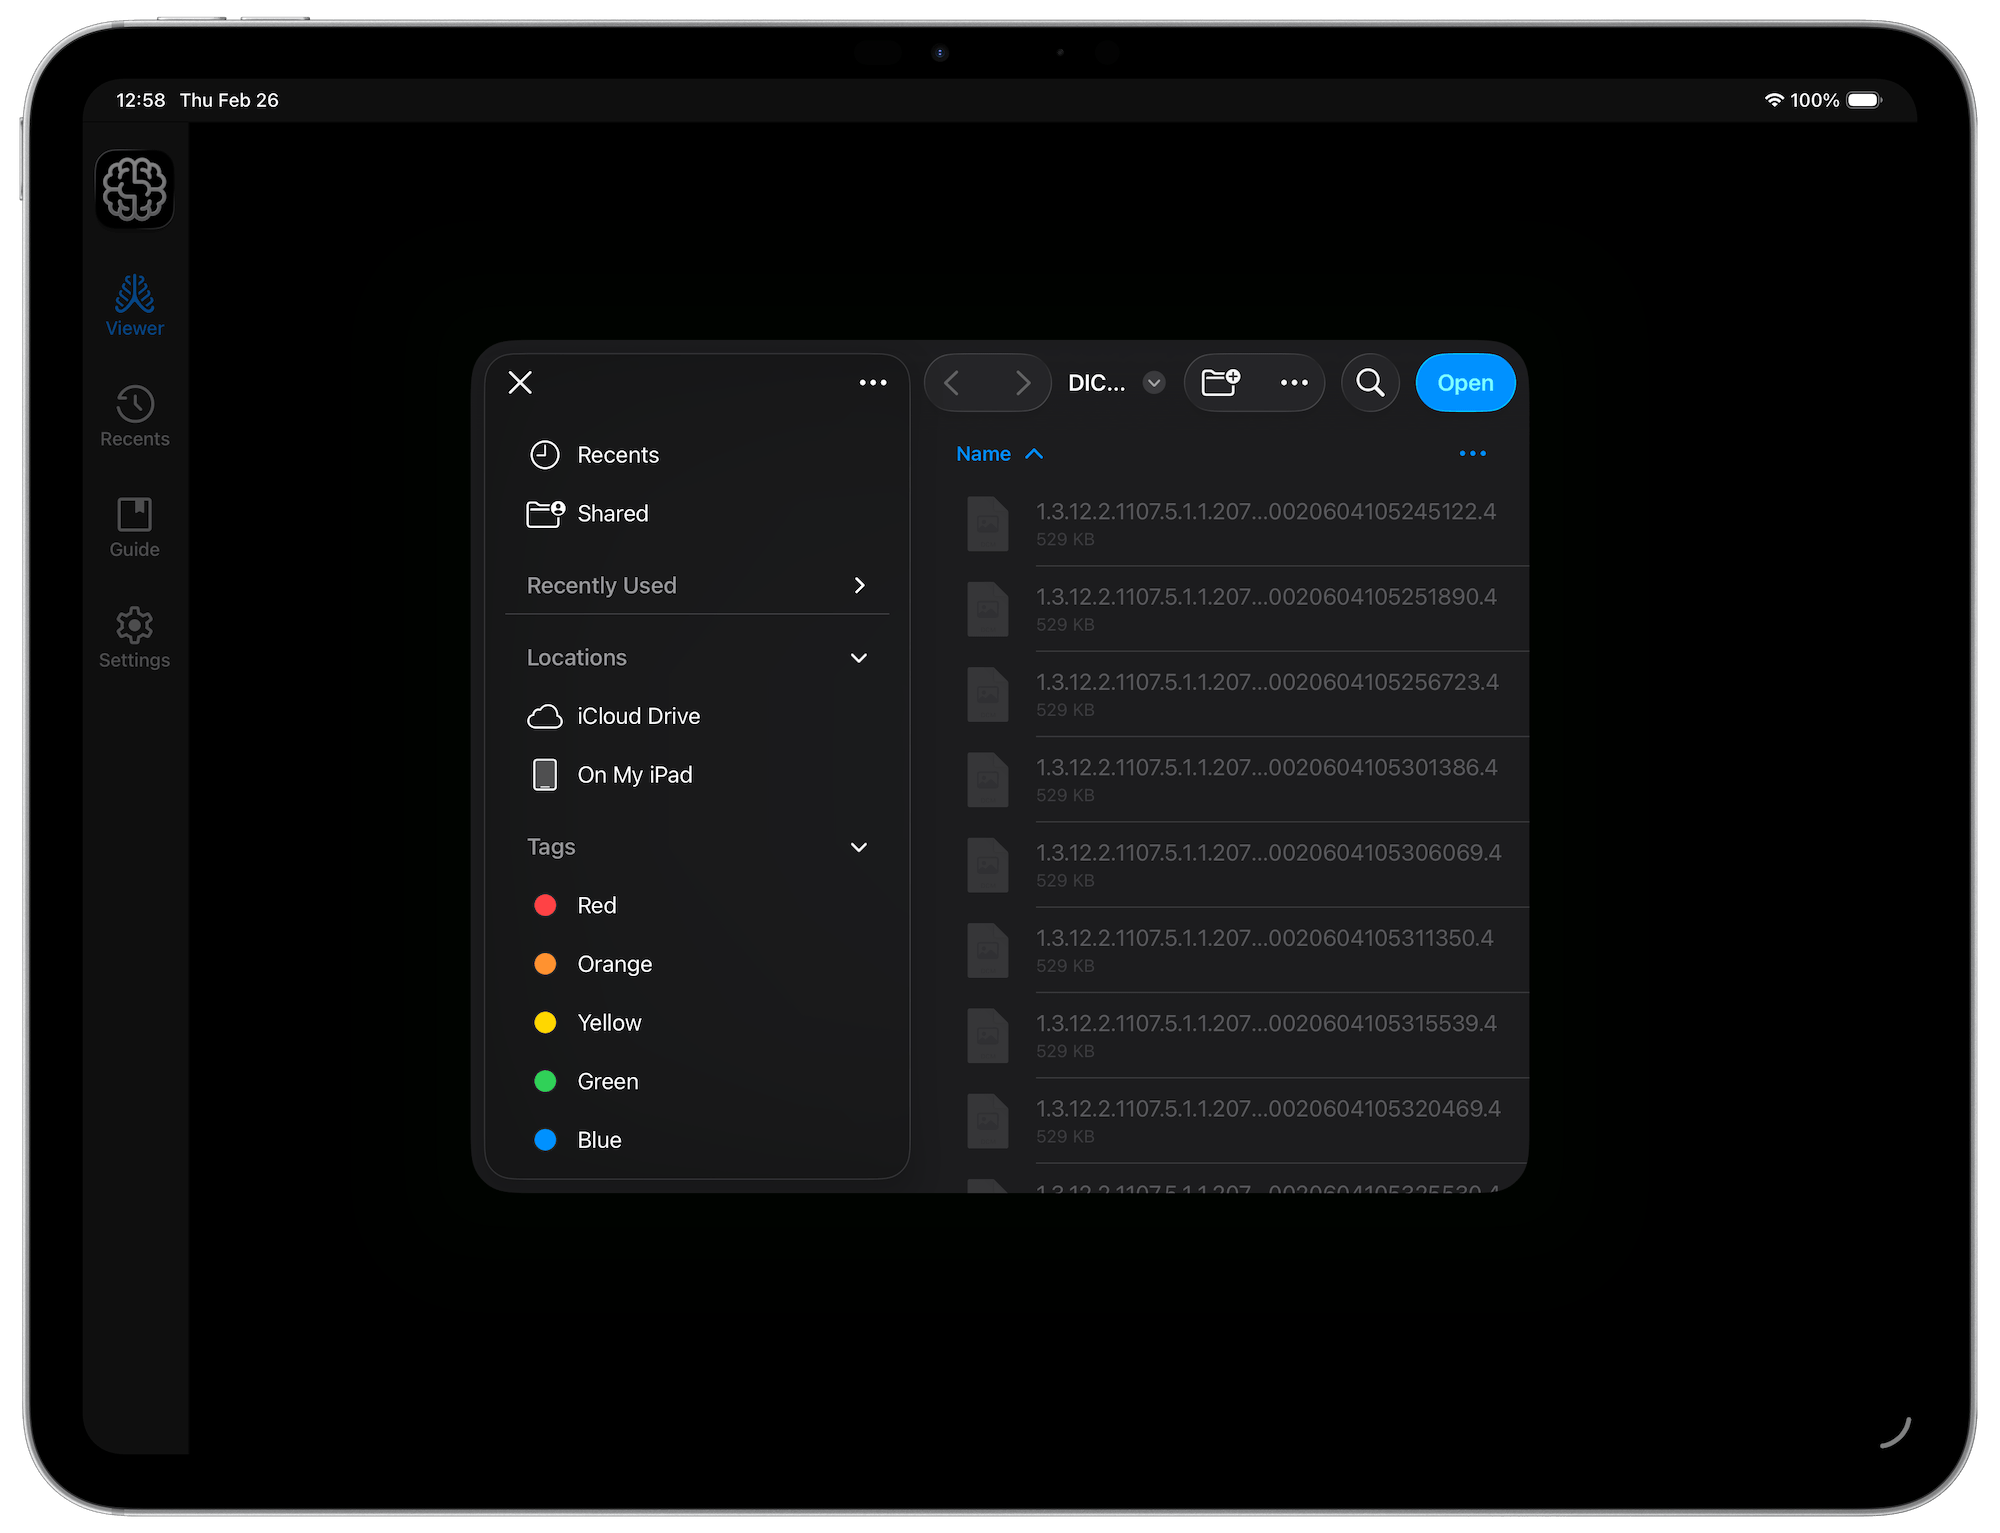
First, with the Viewer Tab active, select the 'Plus' button at the center of the screen. A dialog will open, from which you can select the folder containing DICOM images to import. Once selected, DICOM Studio will scan for DICOM files up to 5 subdirectories deep, allowing you to select a parent folder and pick the DICOM Series you are after from the resulting previews.
Next, DICOM Studio will group all Images in the selected folder into their respective series, and give you a preview of each, as illustrated in the example below. The table includes a summary of each series including a preview image, patient name, study description, series description, number of images and modality. Pick the row containing the series you wish to import, and tap the blue tick at the top-right to import.
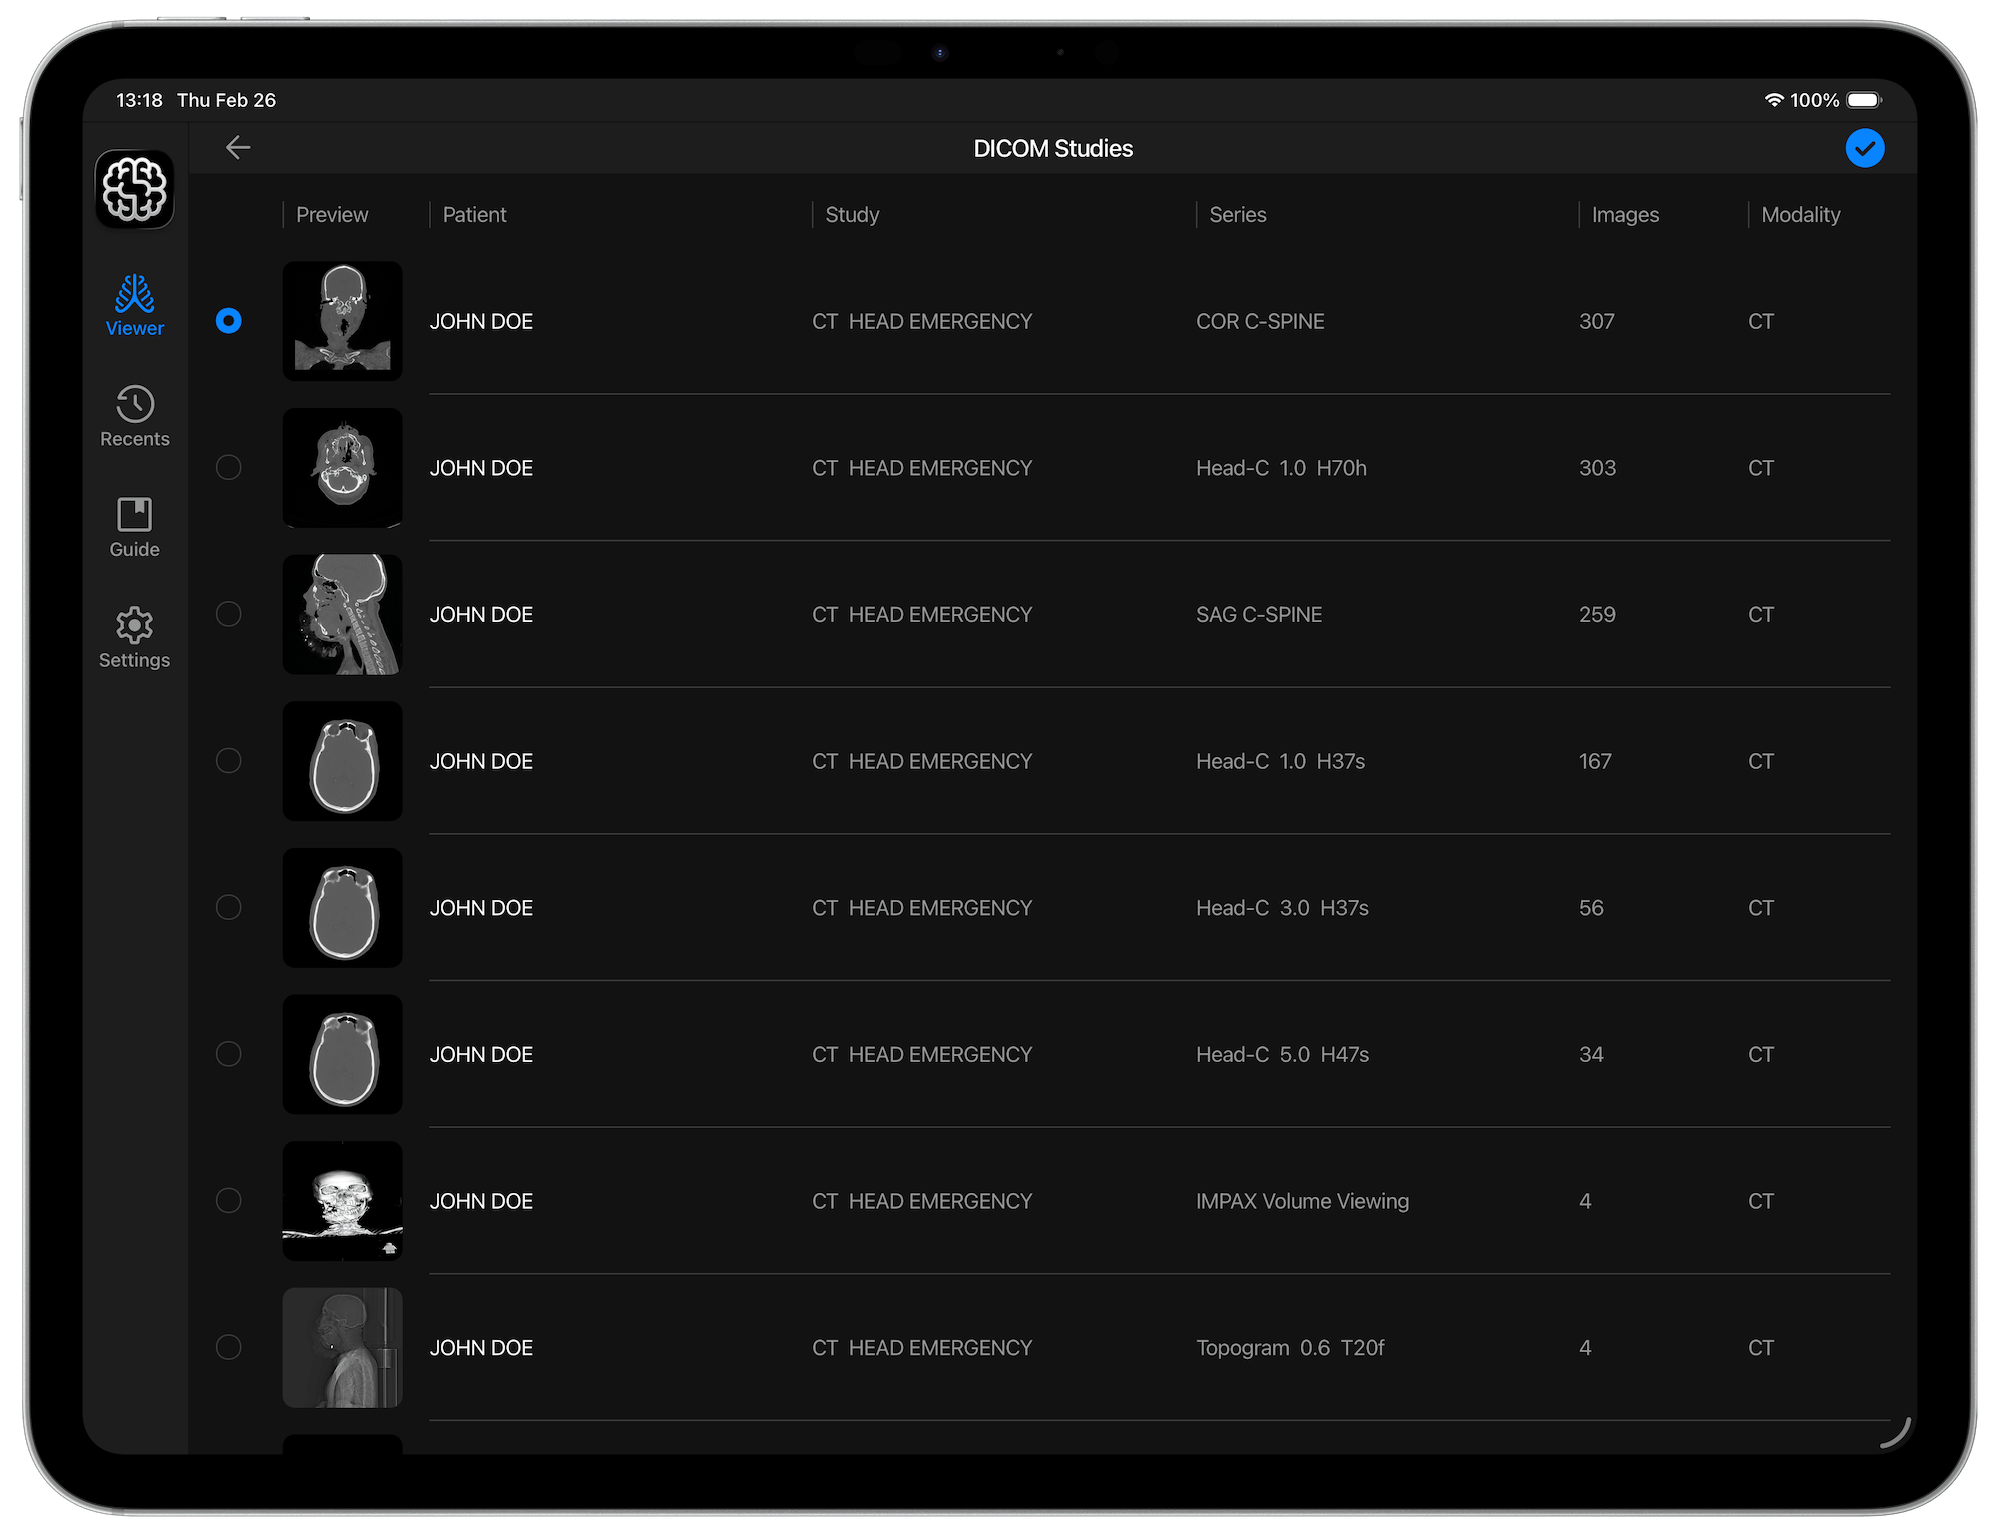
Note that if only one series is detected in the folder you select, this step above will be skipped.
Slices in the original orientation will be loaded onto the Viewer in grayscale. Drag the slider on the right (or bottom if your device is in Portrait view), either up or down, to scroll through all slices in the series. Use the Axial, Sagittal and Coronal buttons in the toolbar to switch between orientations.

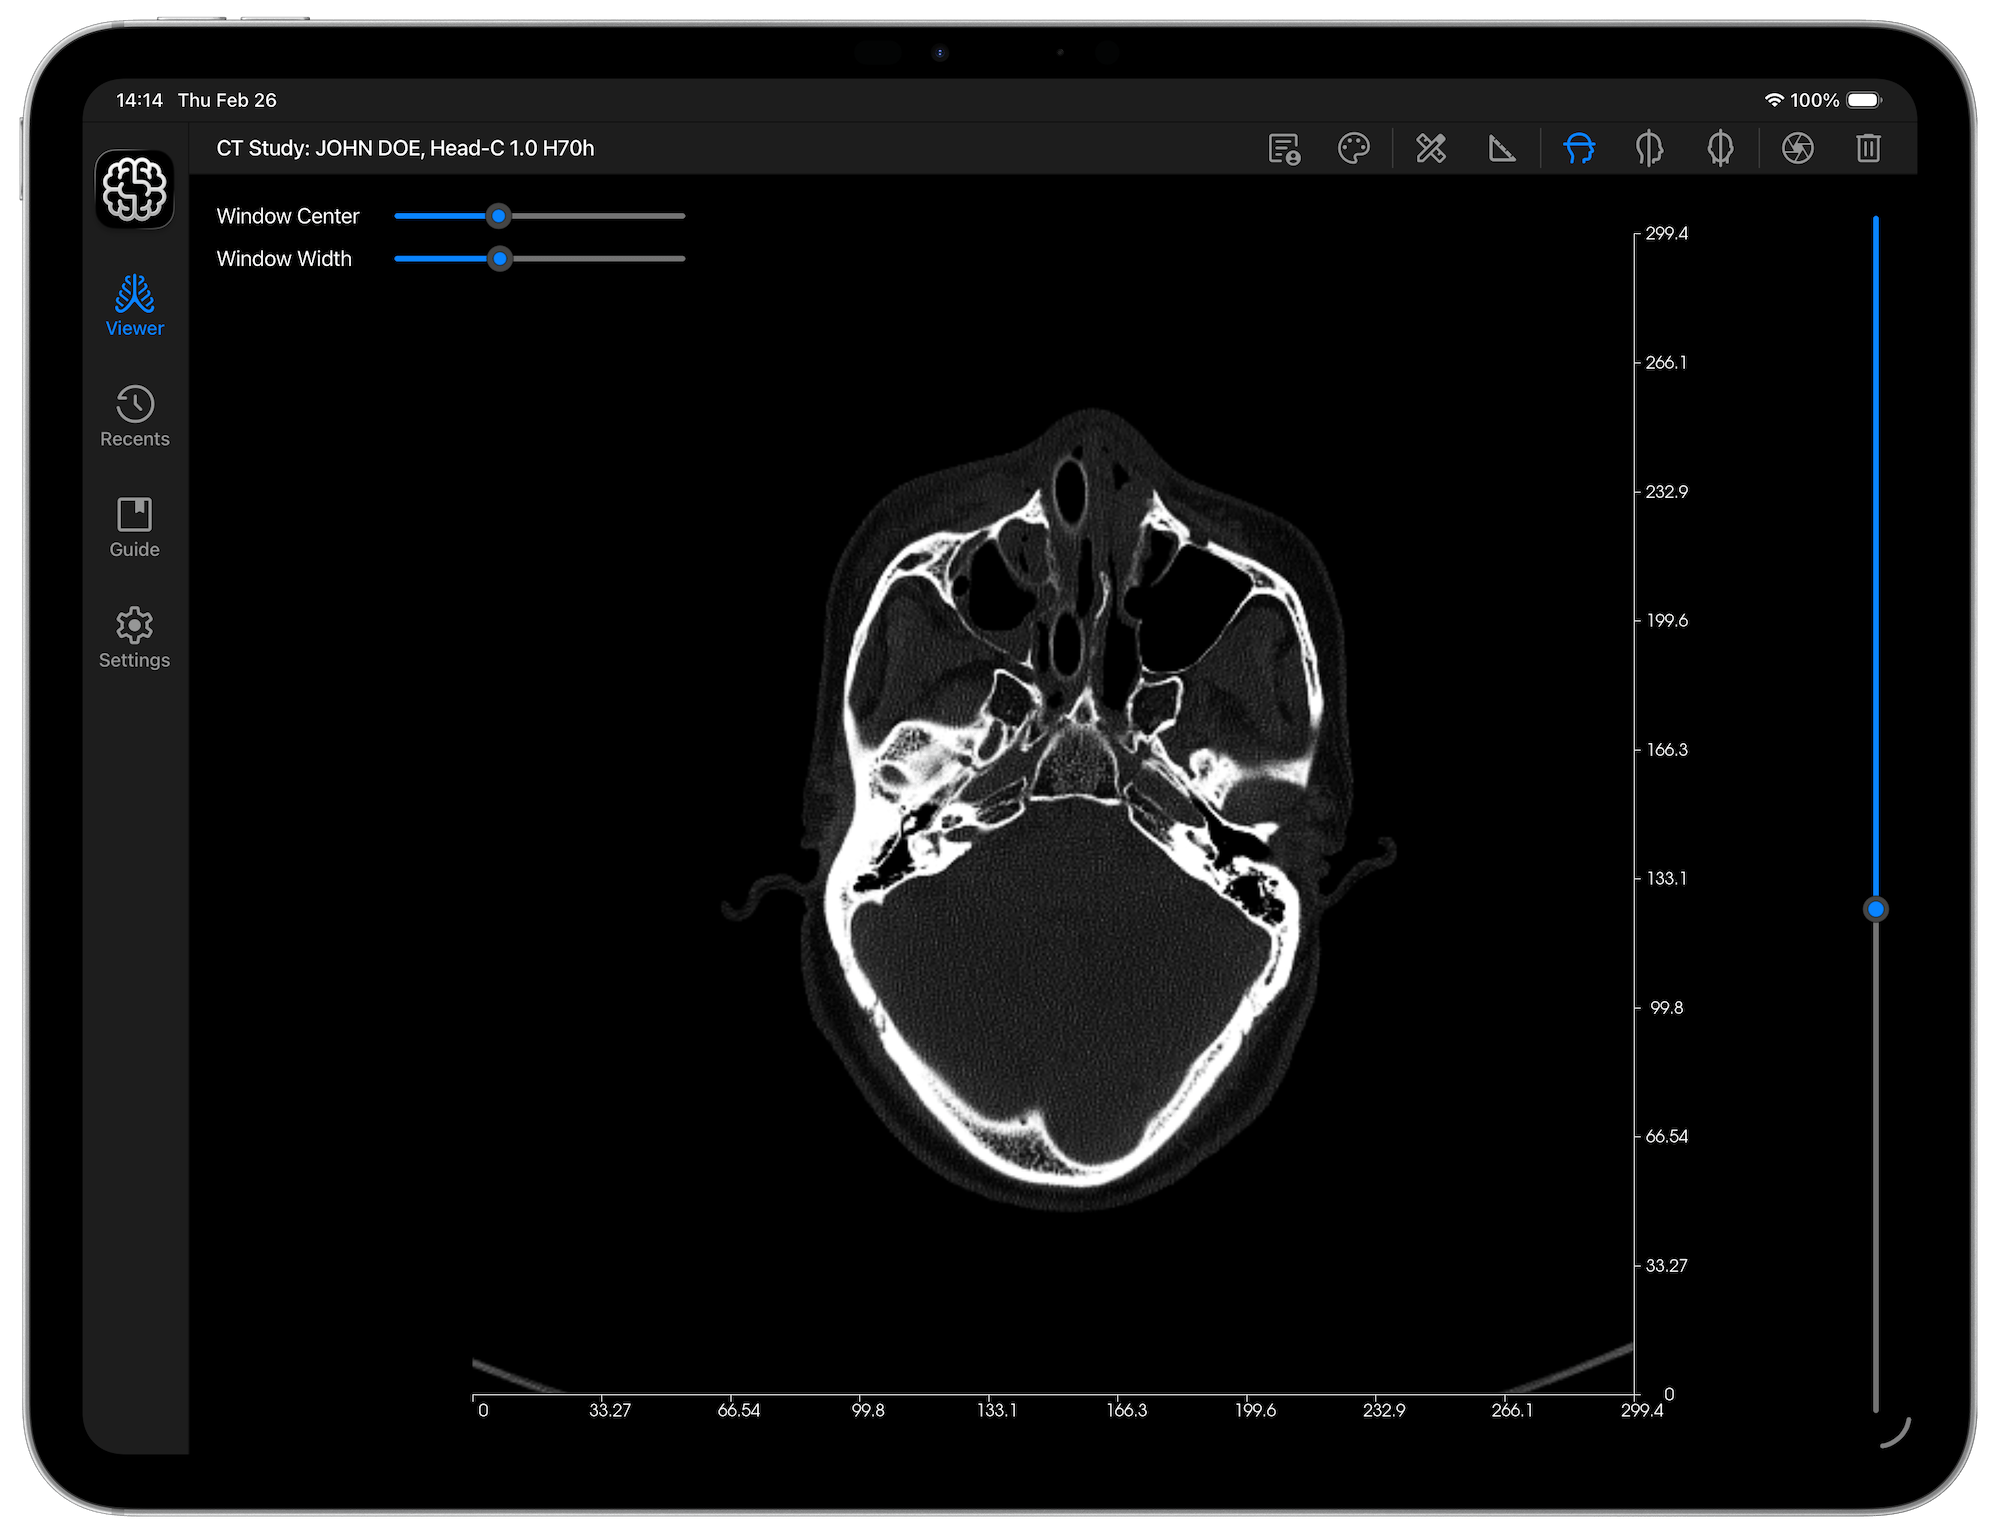
X & Y axes, featuring 10 equally spaced points, are added onto the length and width of each slice. Each point includes the distance from the origin. These axes are added by default, however you can hide them if you wish, from the settings tab by toggling the 'X & Y Axes' switch. Your preference will be saved.
The canvas where the image is displayed accepts pinch touch gestures, to pan or zoom in and out of your images. Refer to the Interaction section if you need clarification on how to do this.
Finally, an extensive list of DICOM Tags read from the imported images, is put together, and displayed in a table found in a 'DICOM Tags' tab accessible in the Viewer.
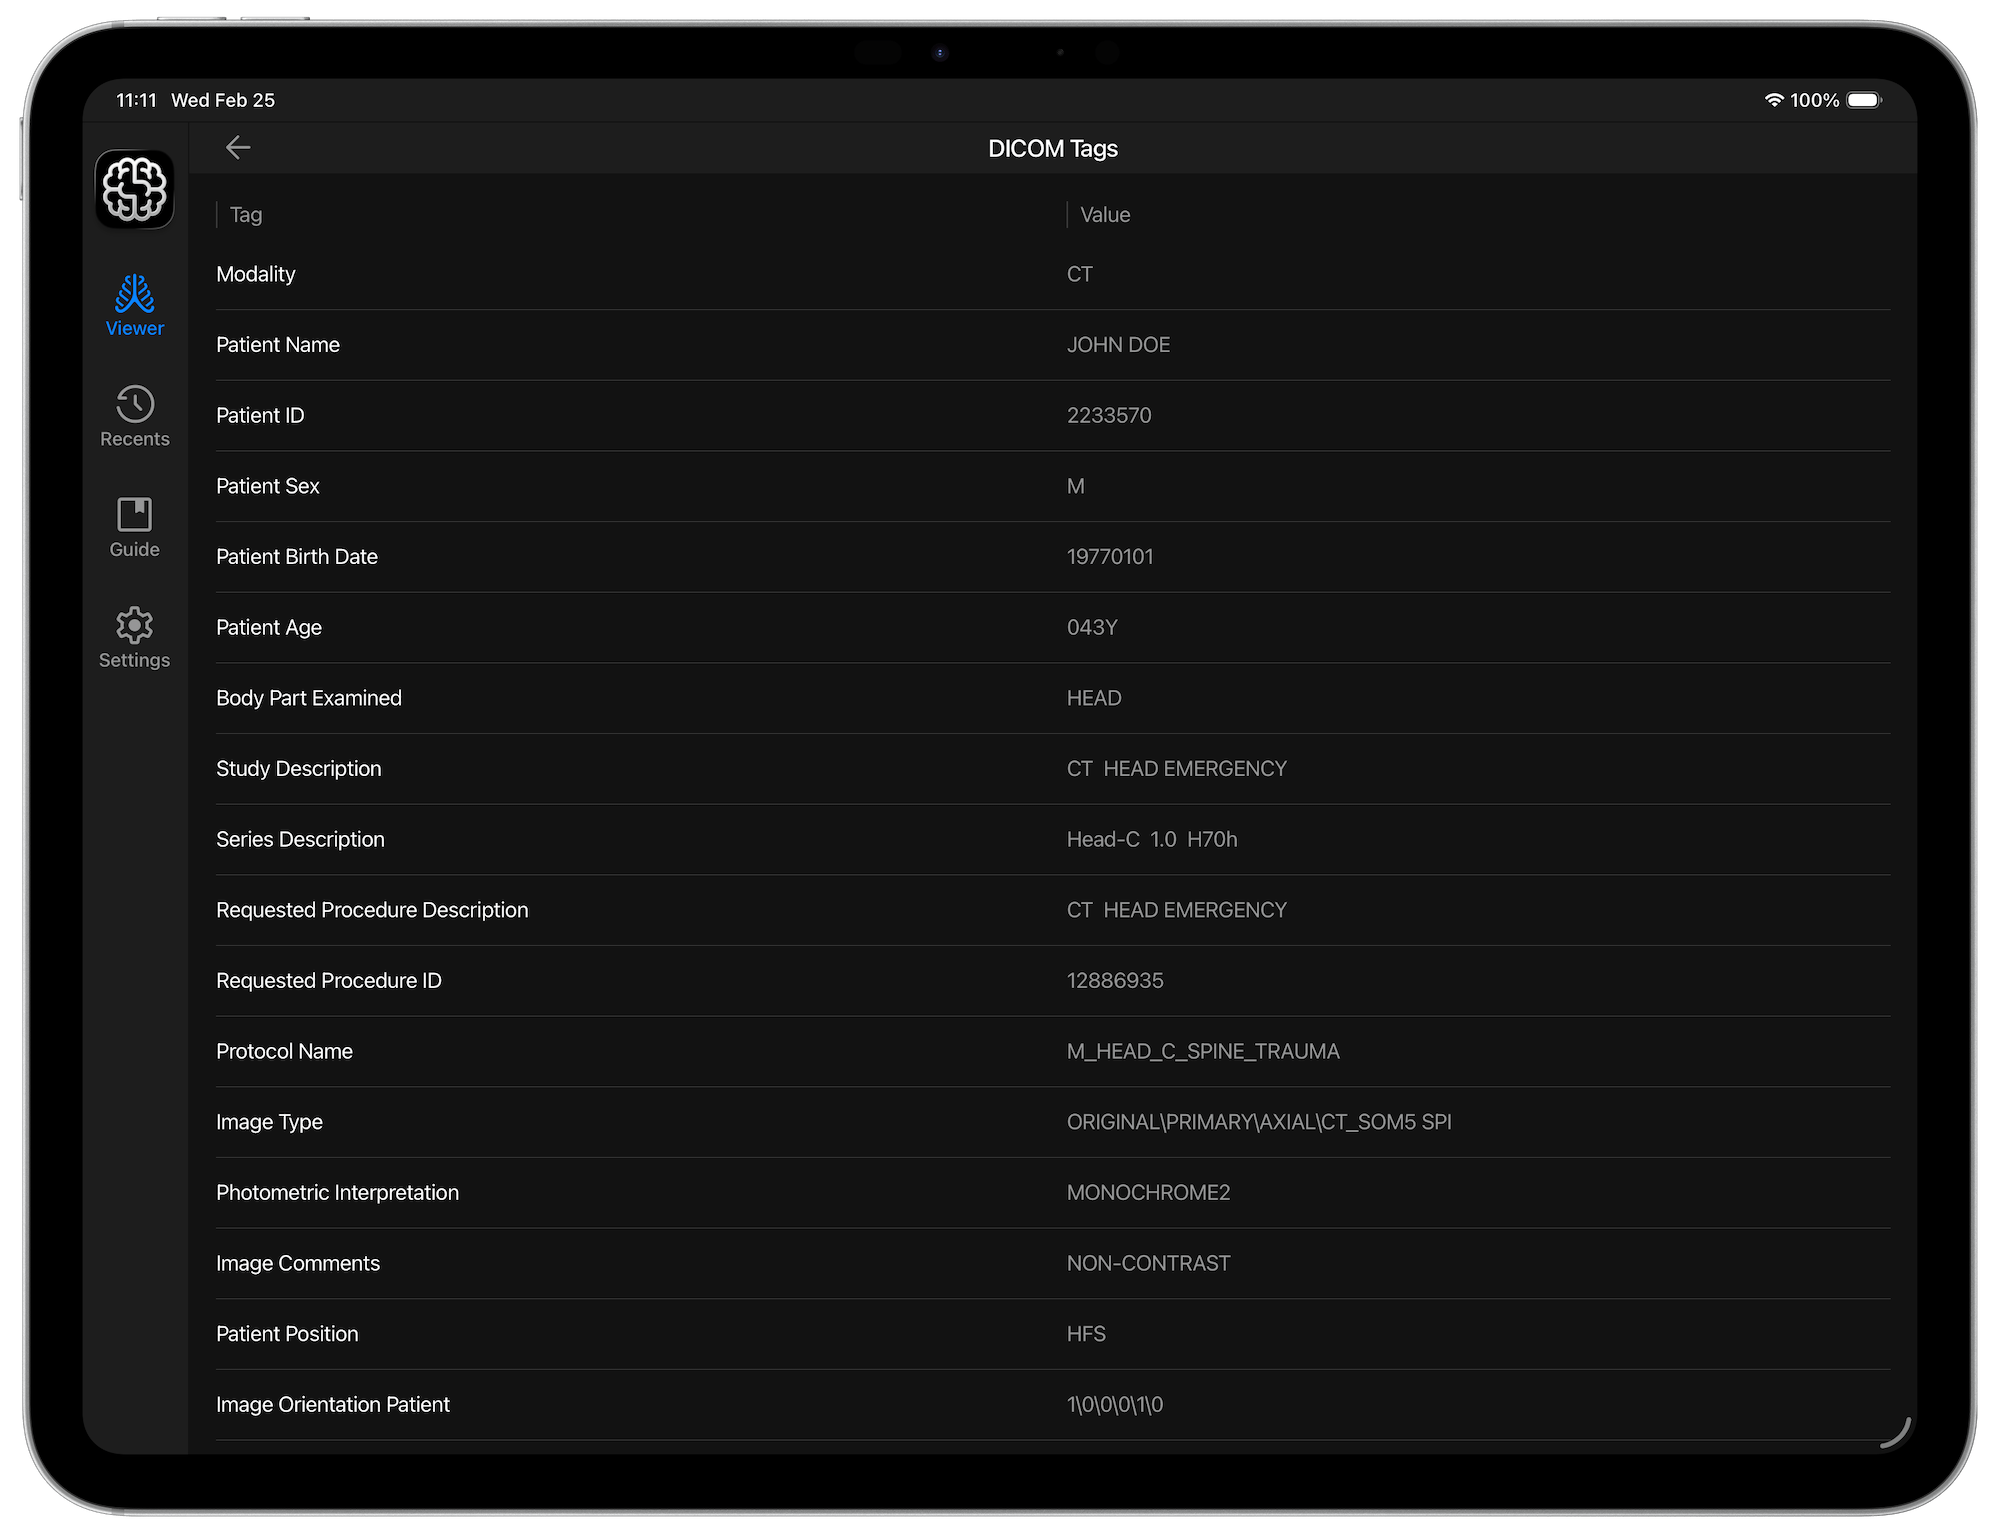

Tap the 'DICOM Tags' button with the icon above, in the toolbar to view the DICOM Tags. Scroll up and down to see the entire table. Tap the 'Back' button (top-left) to return to the Image View.